
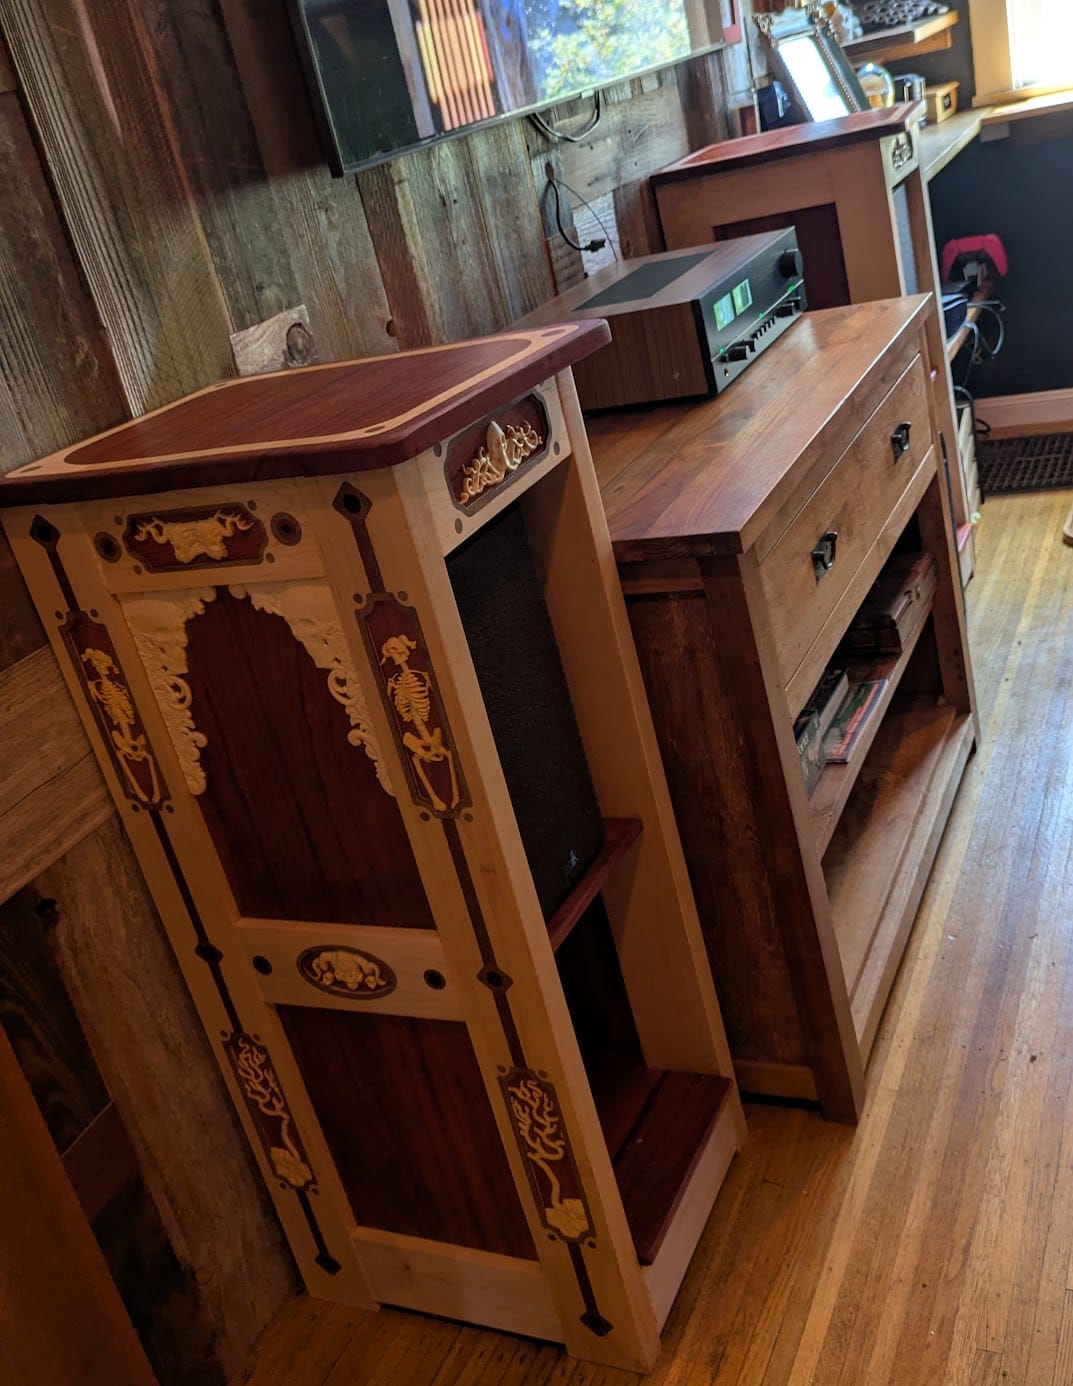
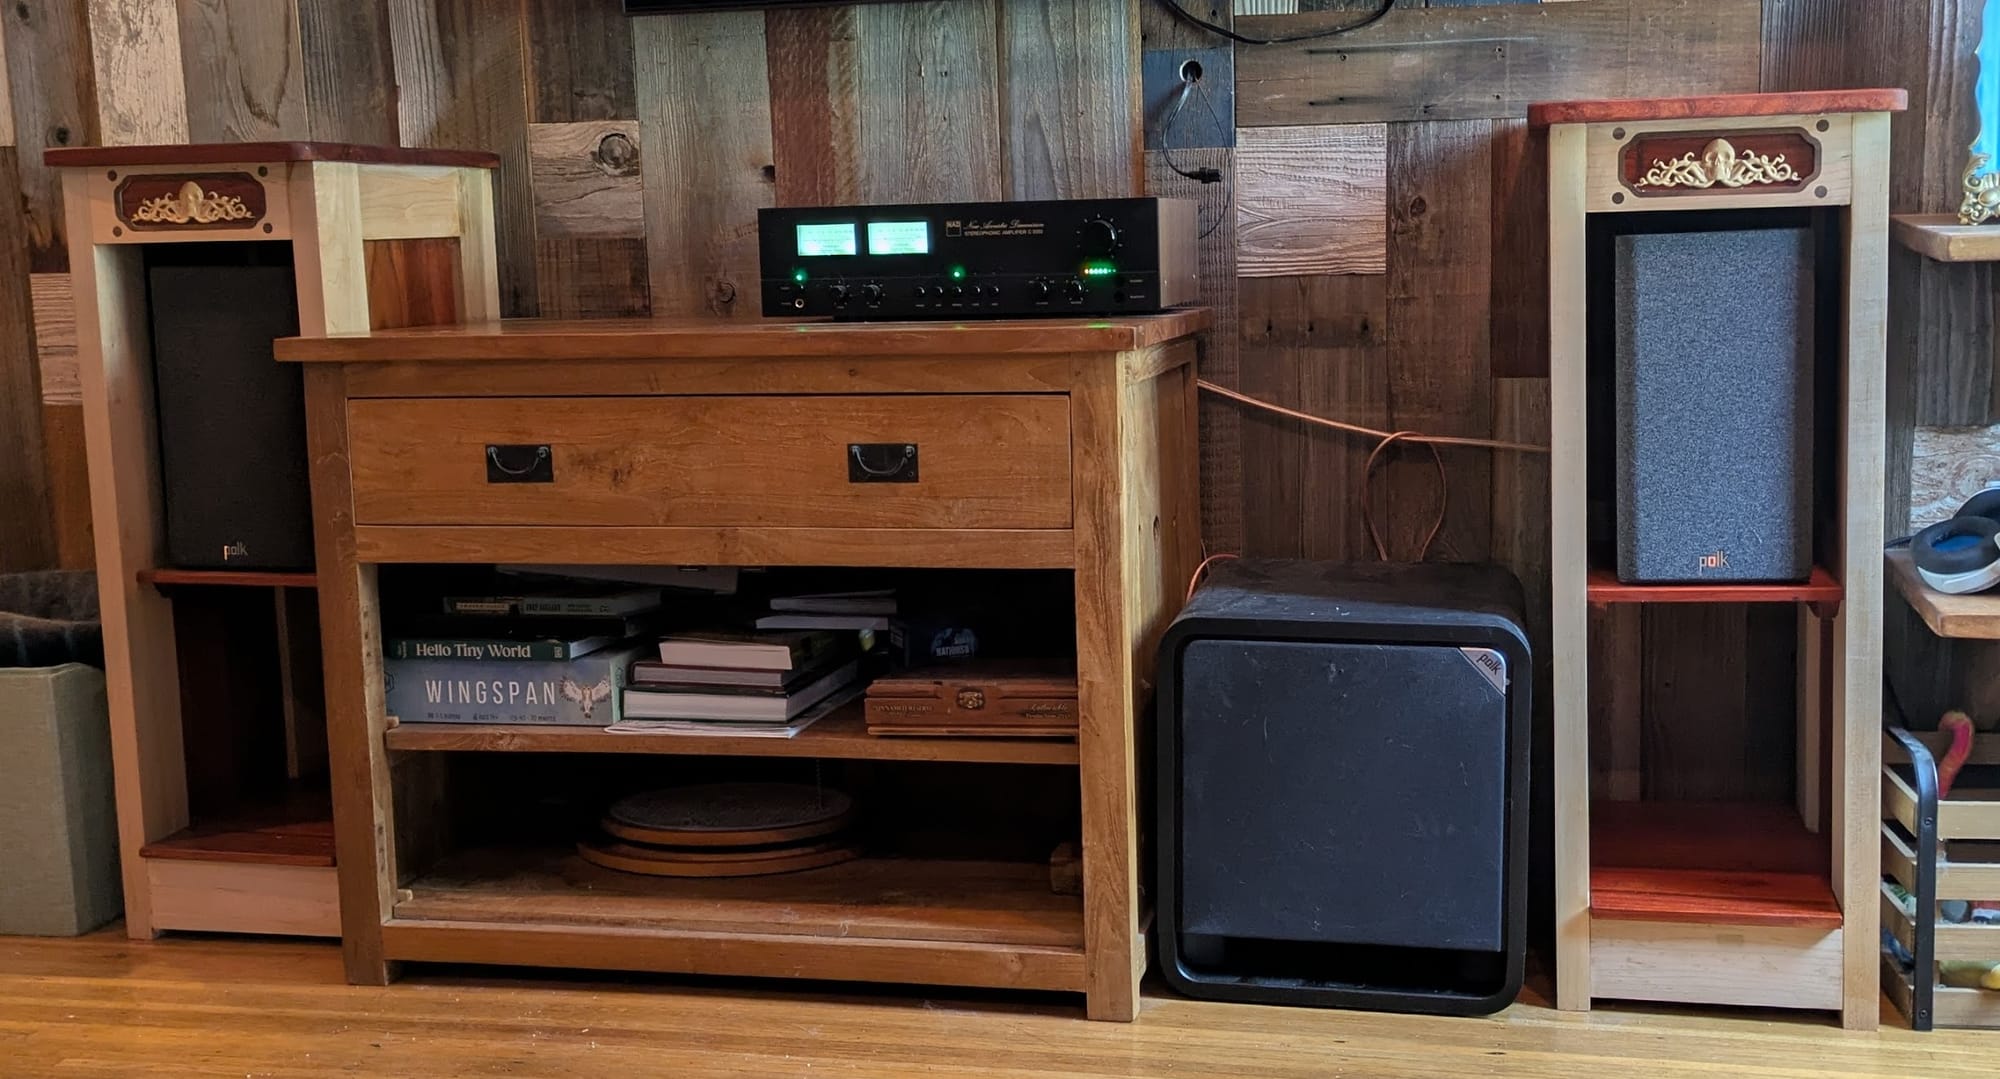
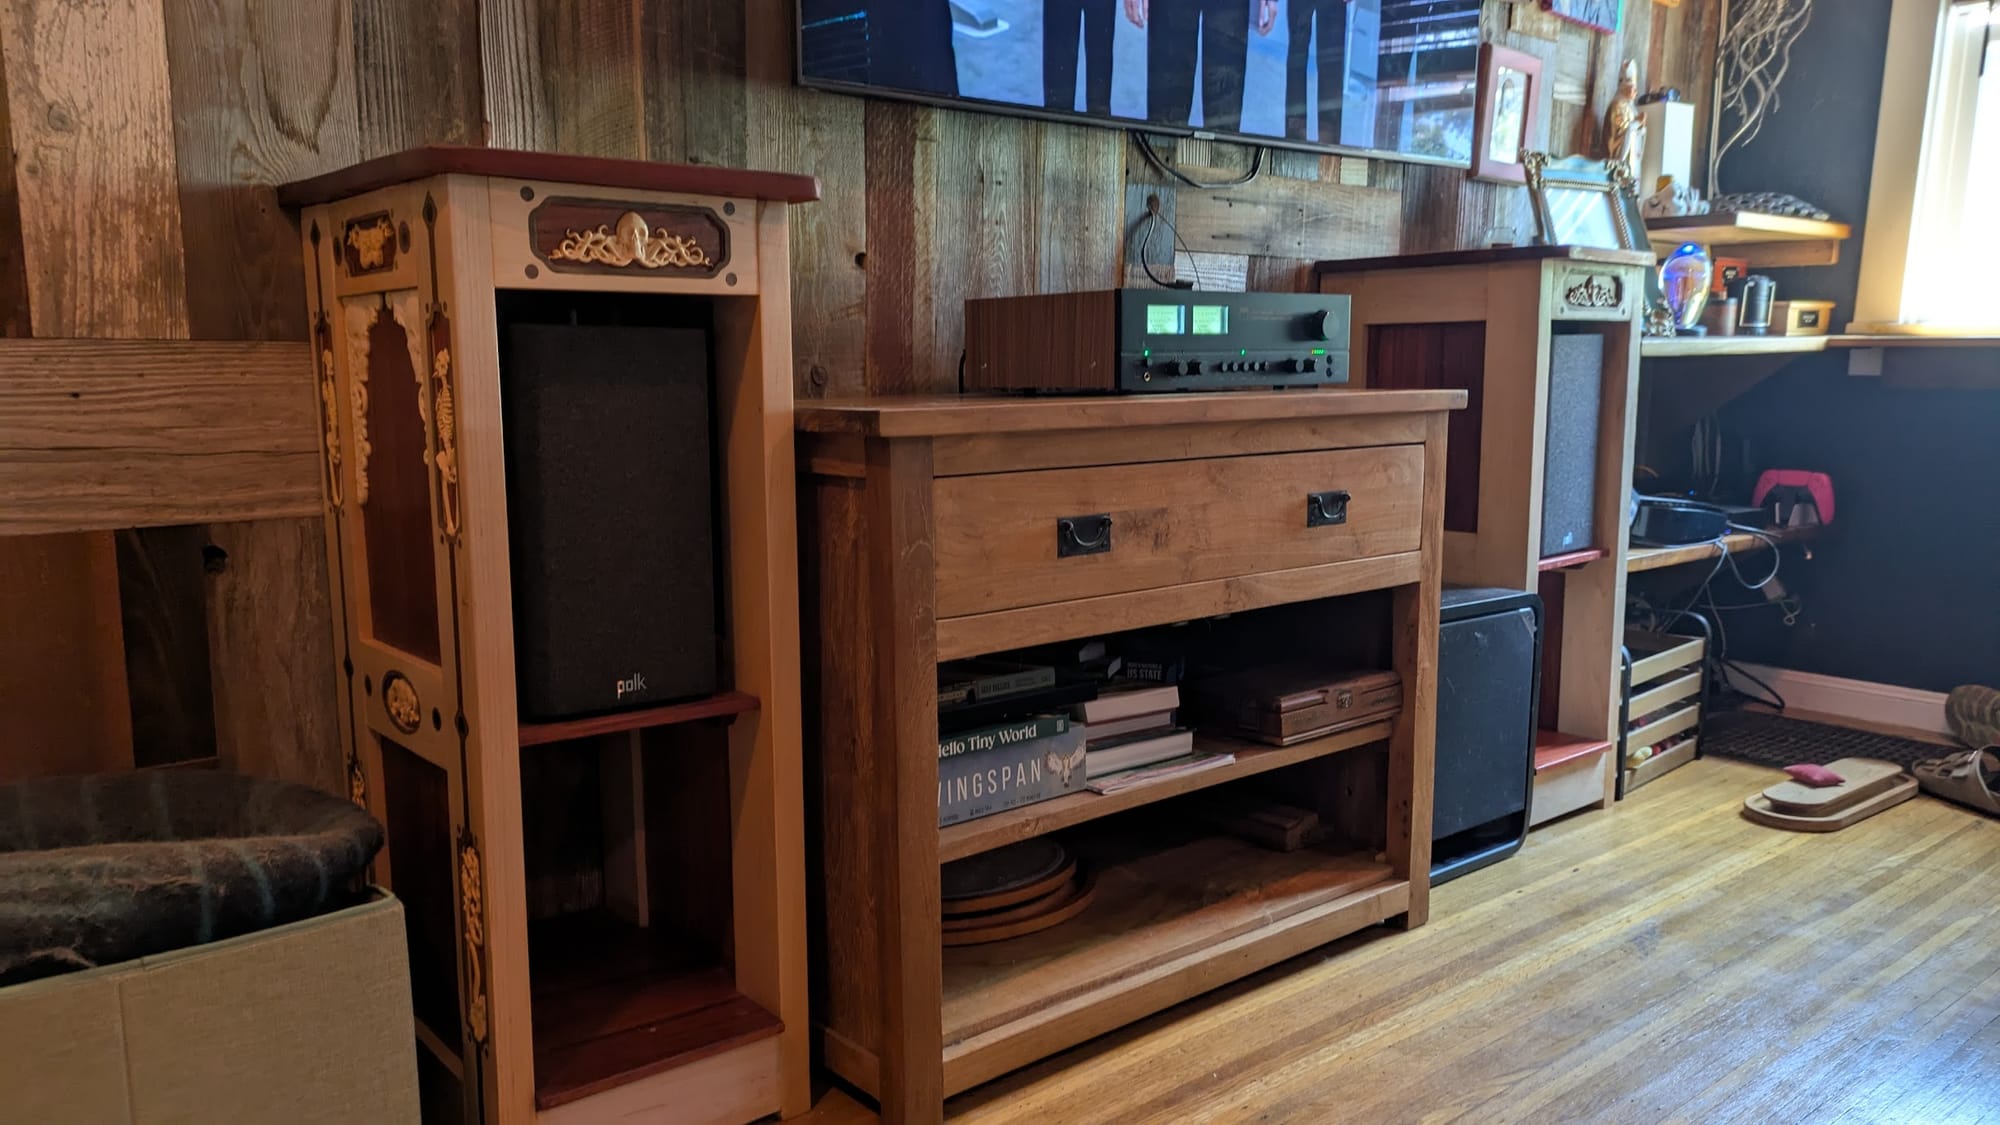
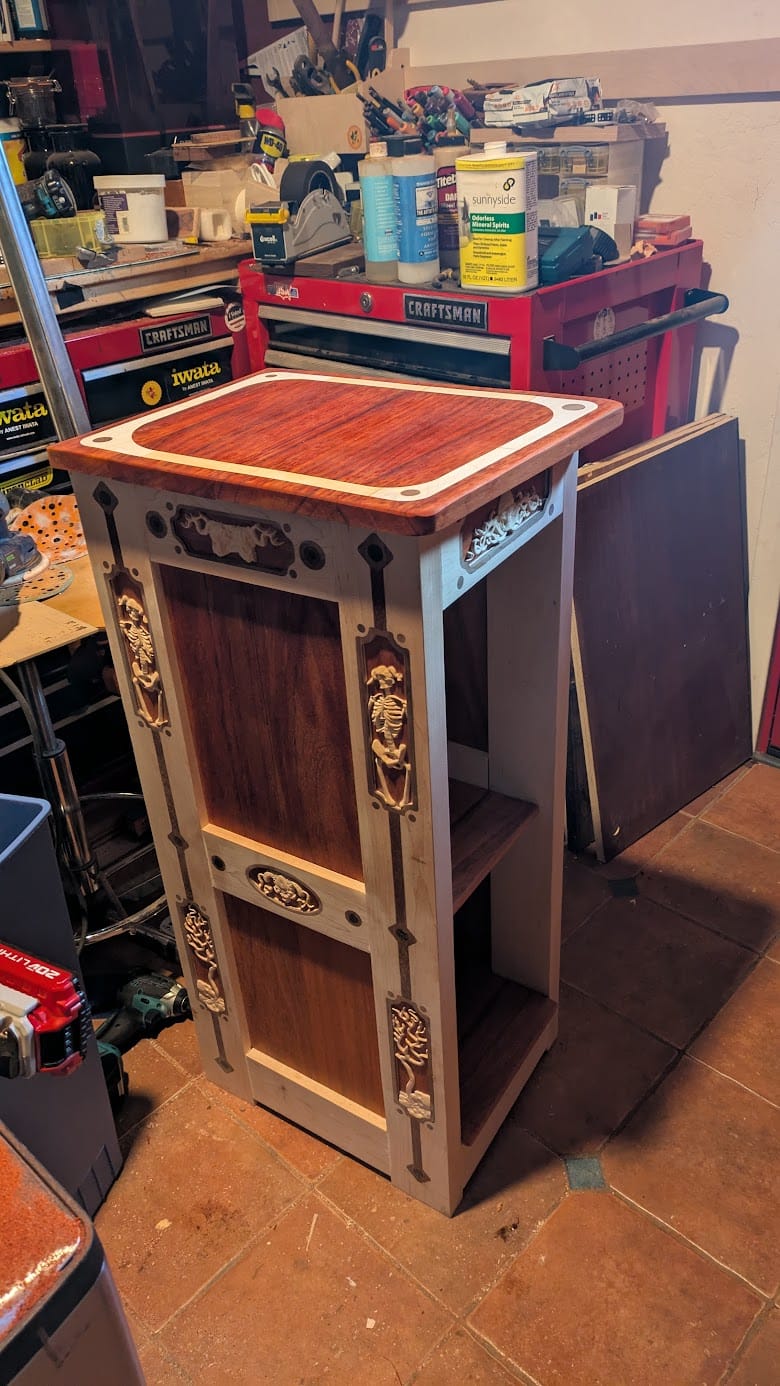
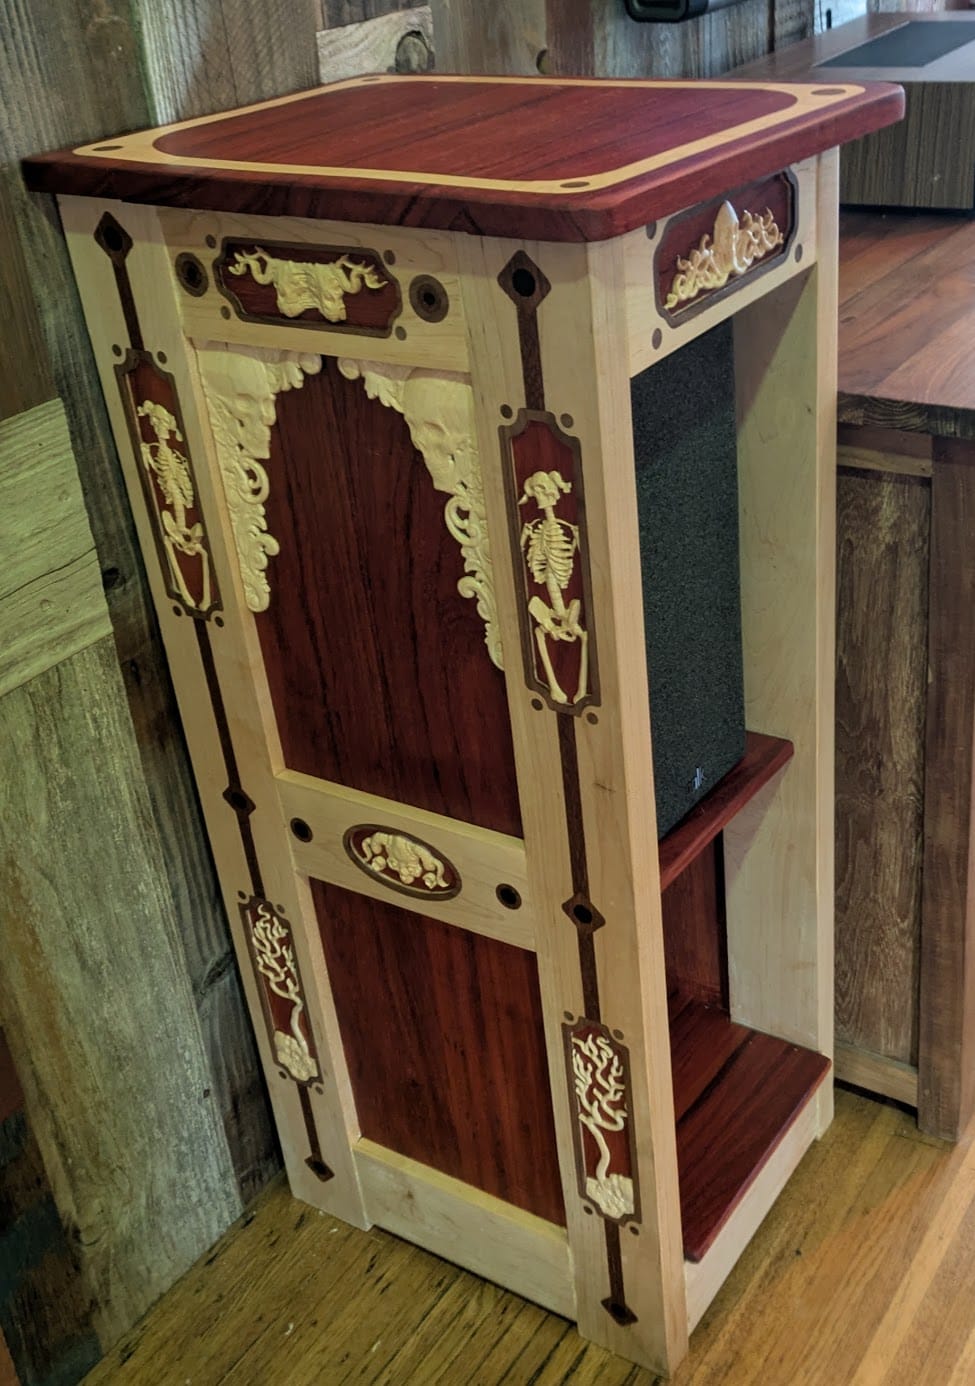
This is a pair of cabinets I built as part of a console unit for my living room. They are cabinets to hold speakers. For this piece I sculpted the carvings in Zbrush, and then used a Makera Carvera CNC machine to carve them into laminated wood. Below is a breakdown of the process for building this.

Joinery
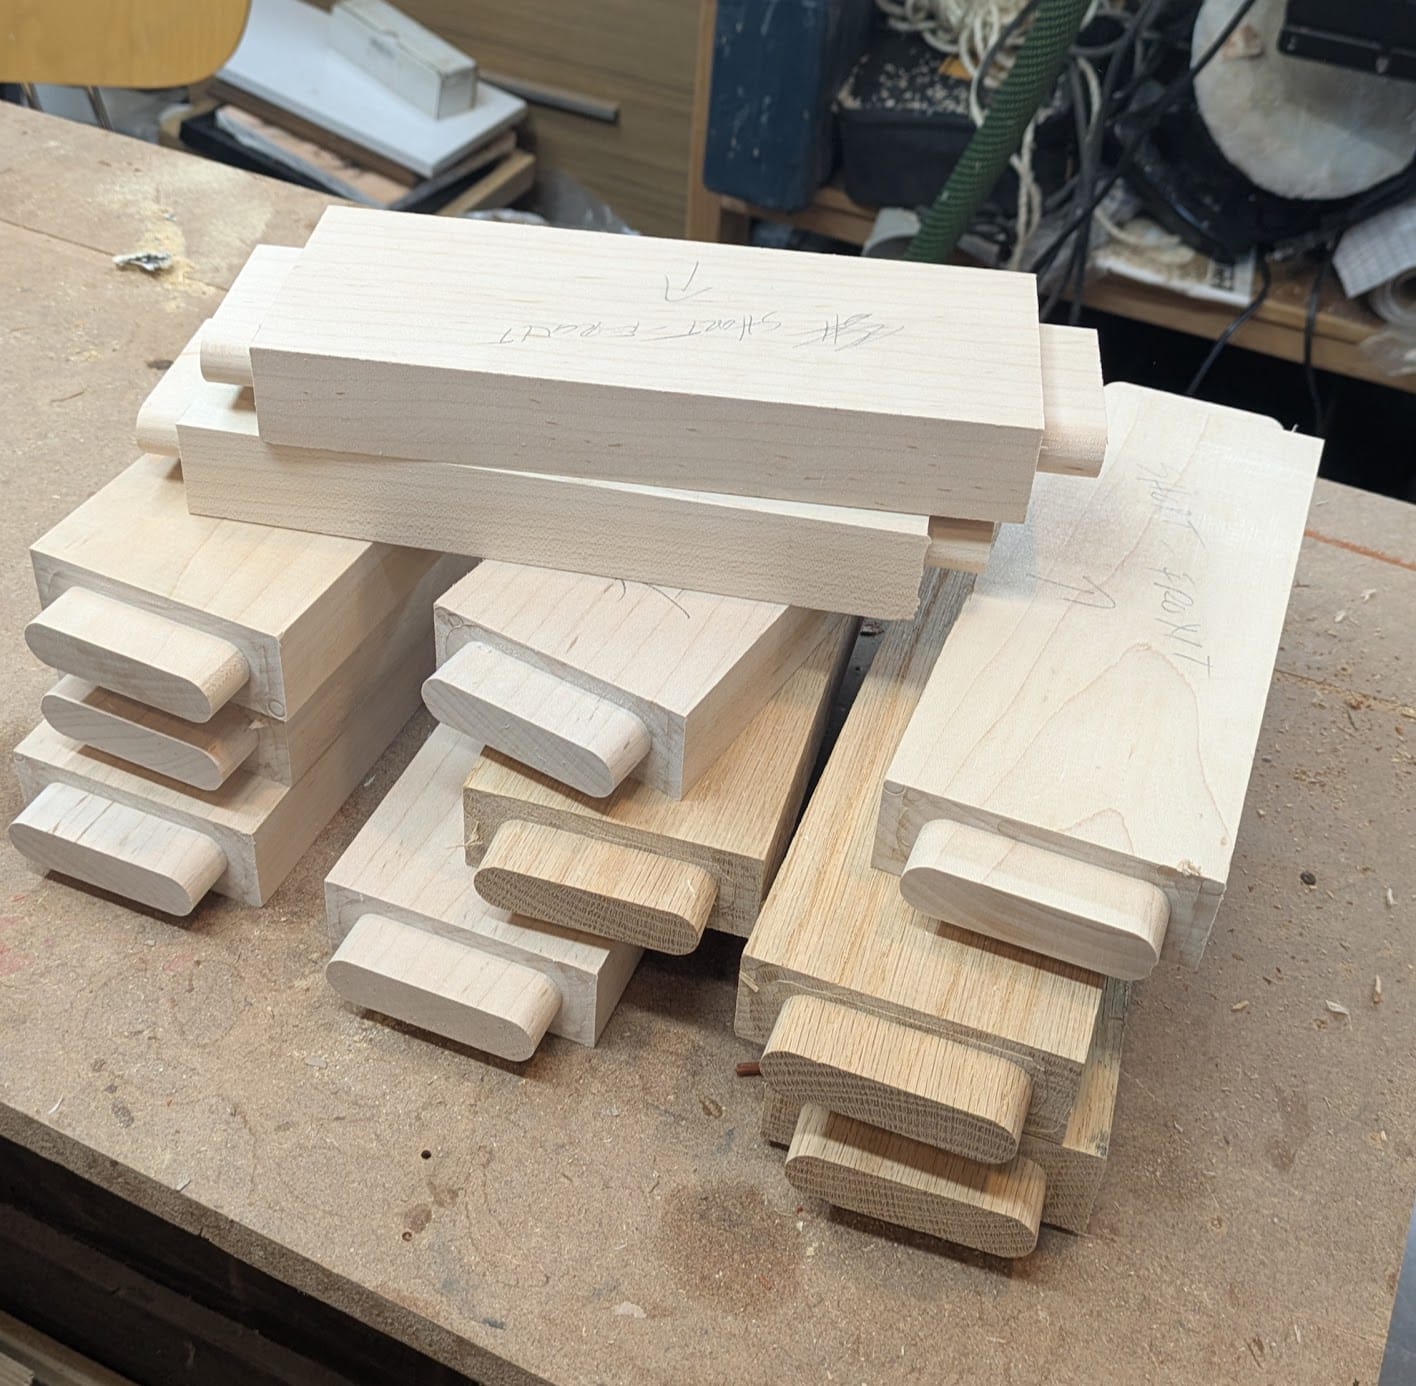
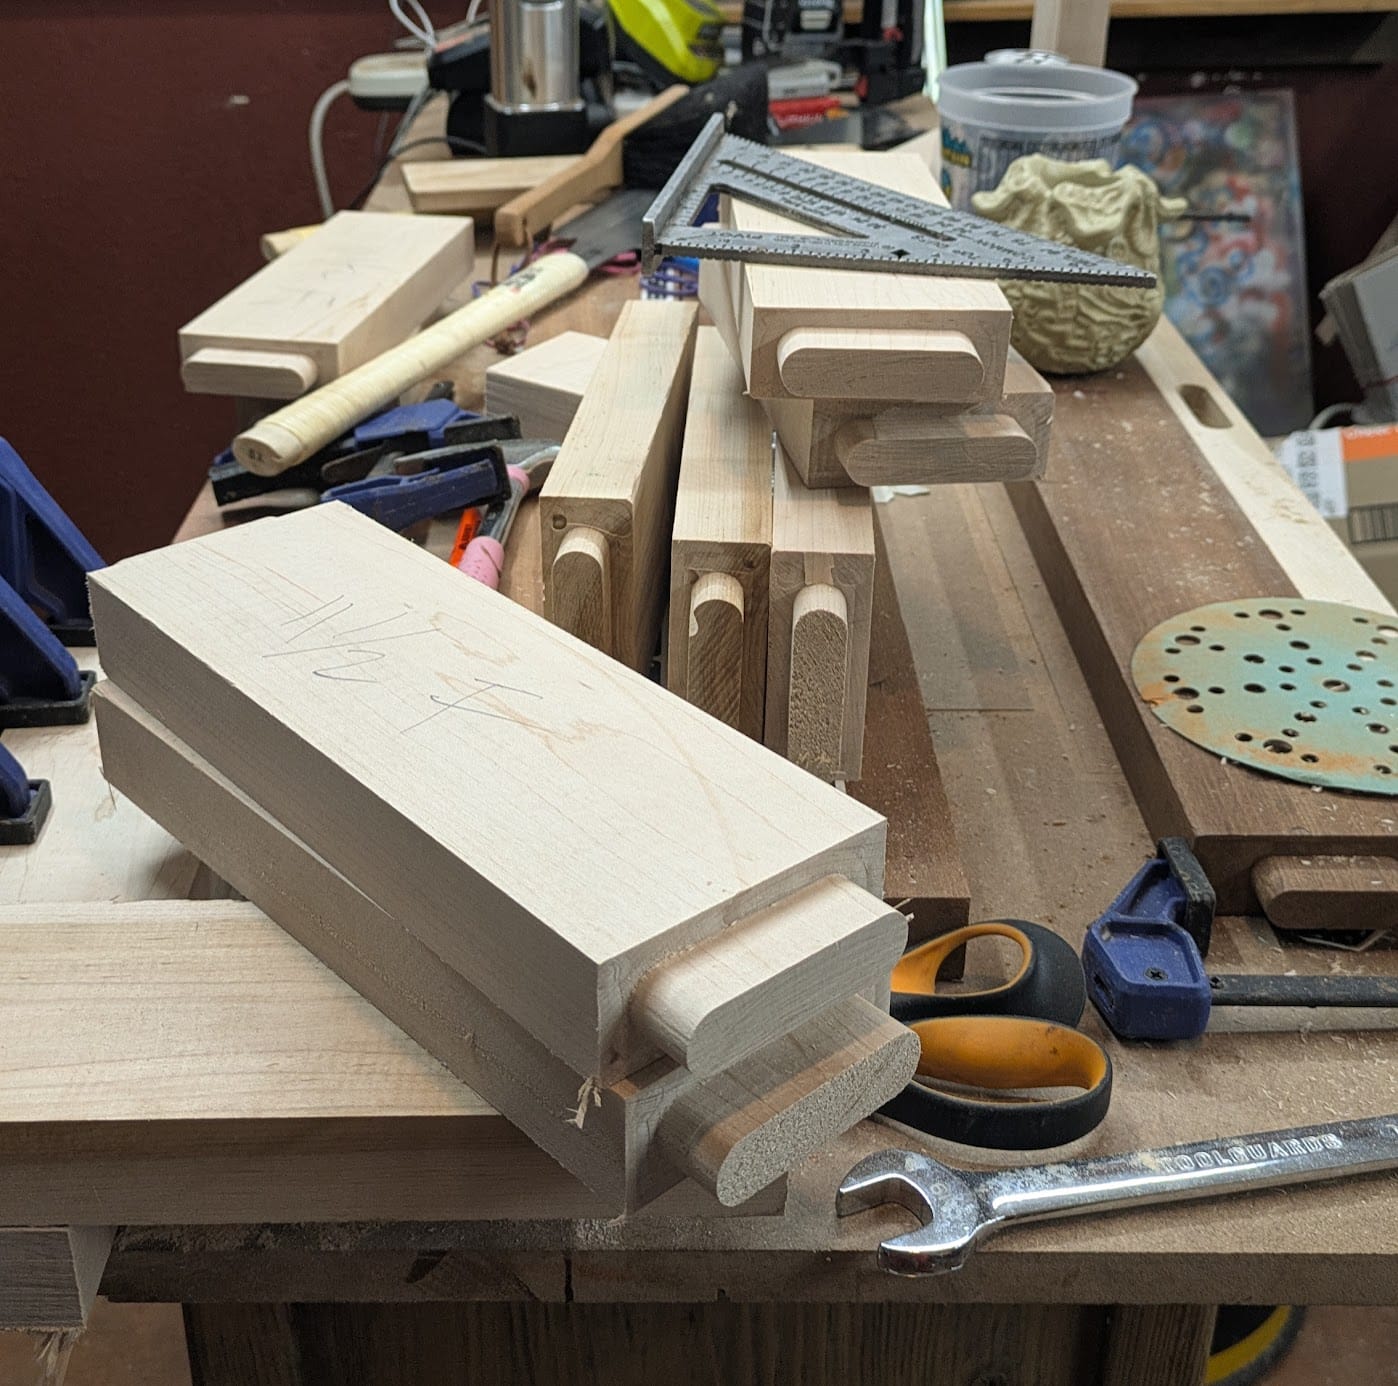
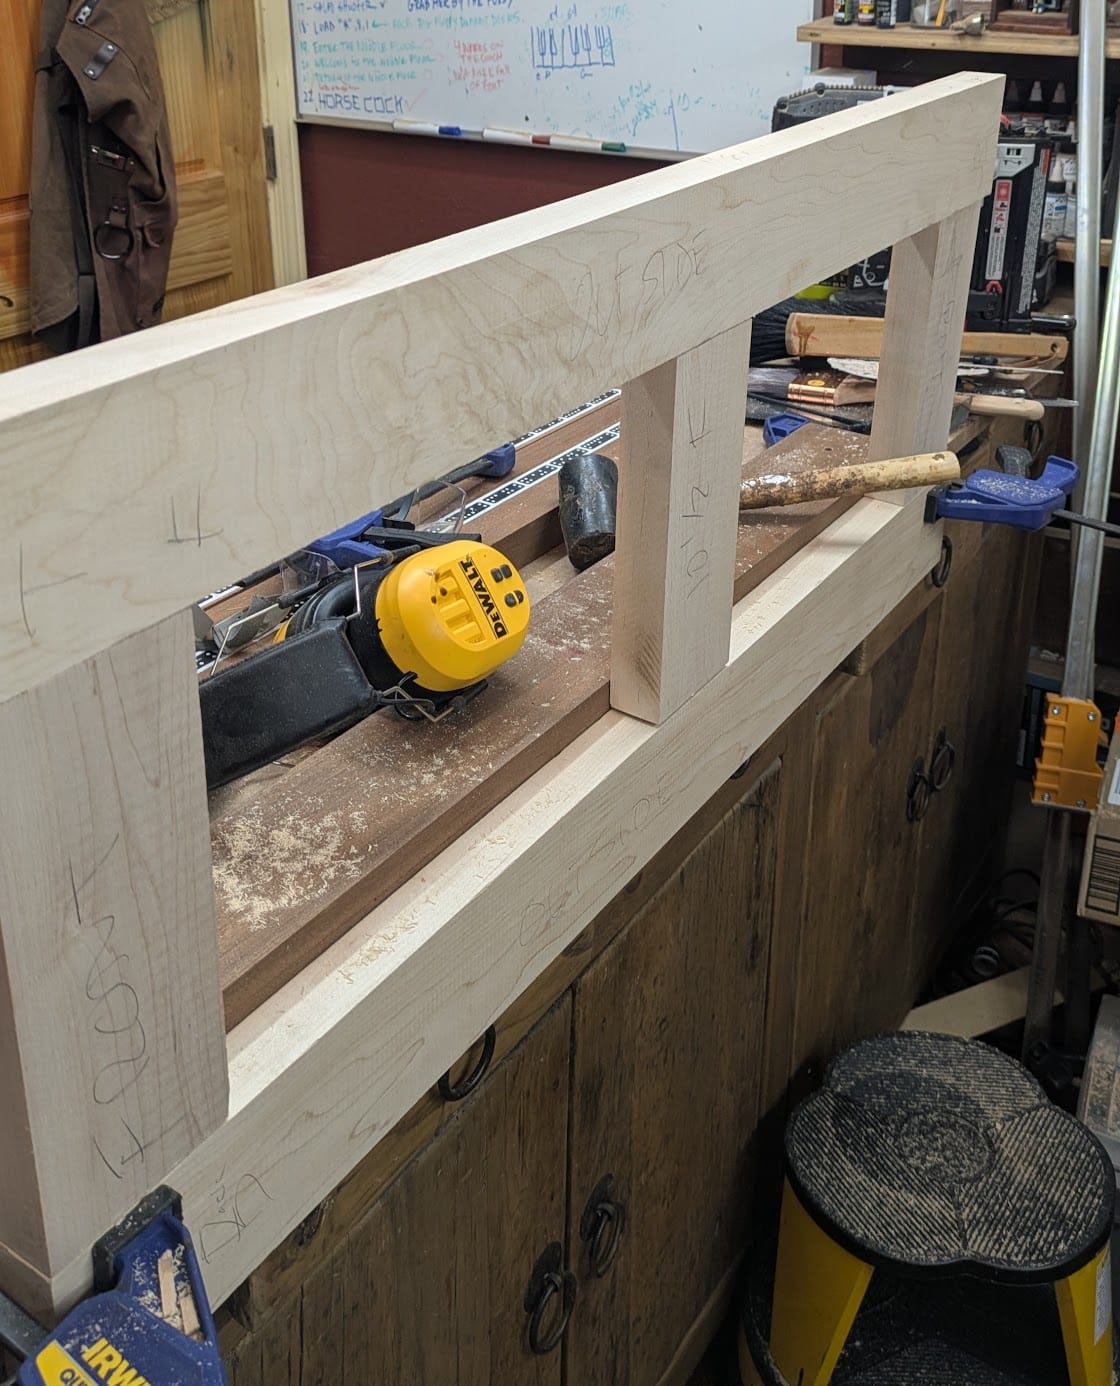
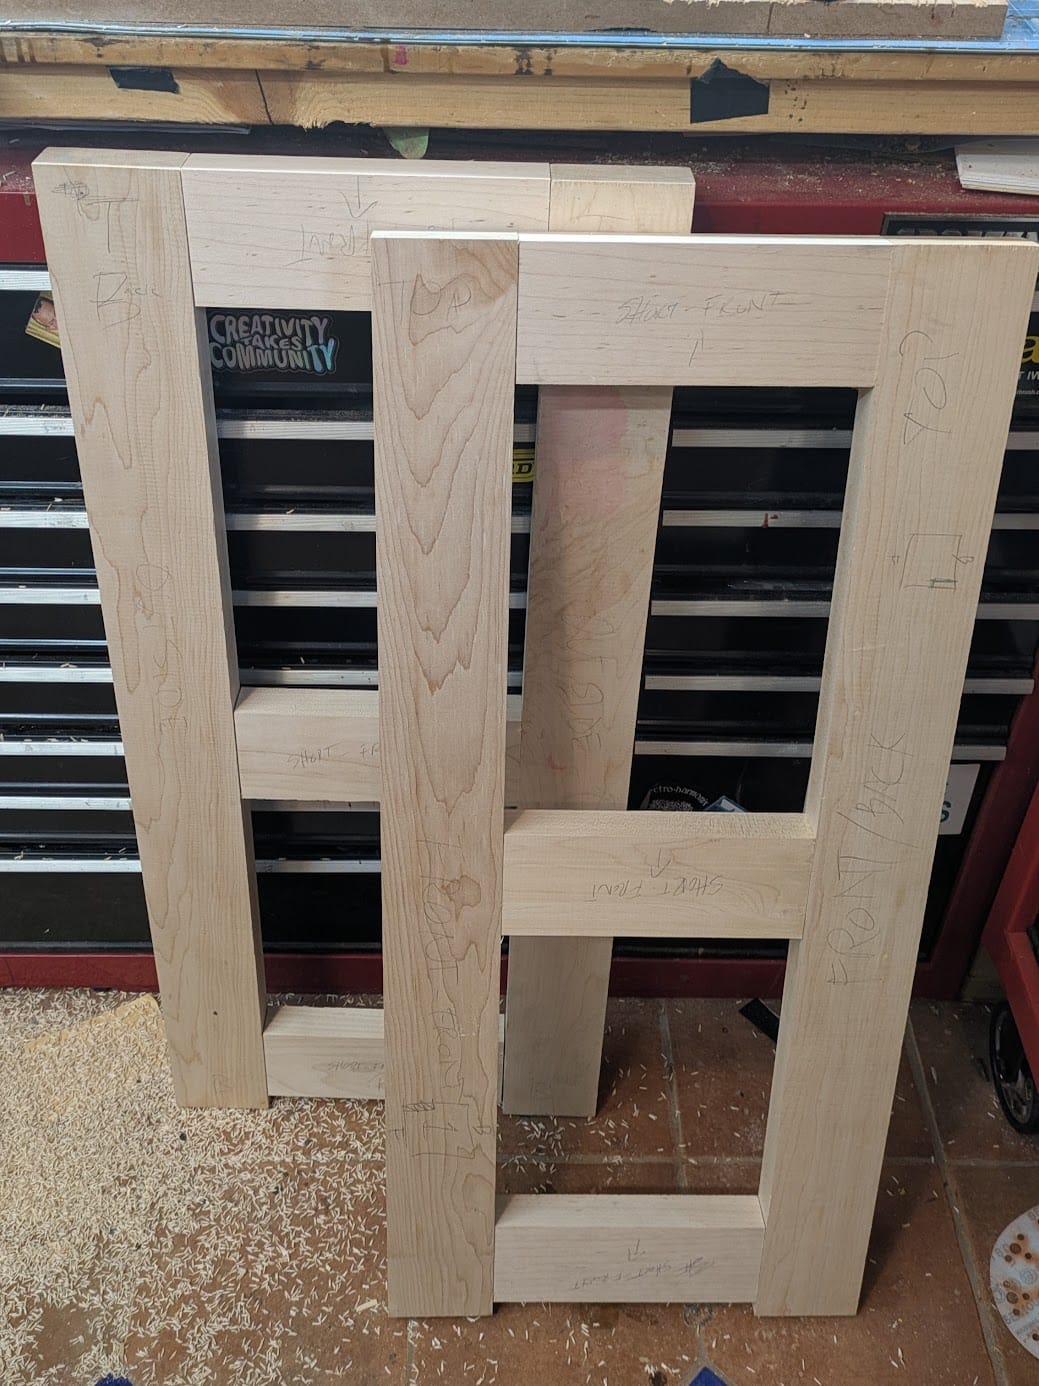
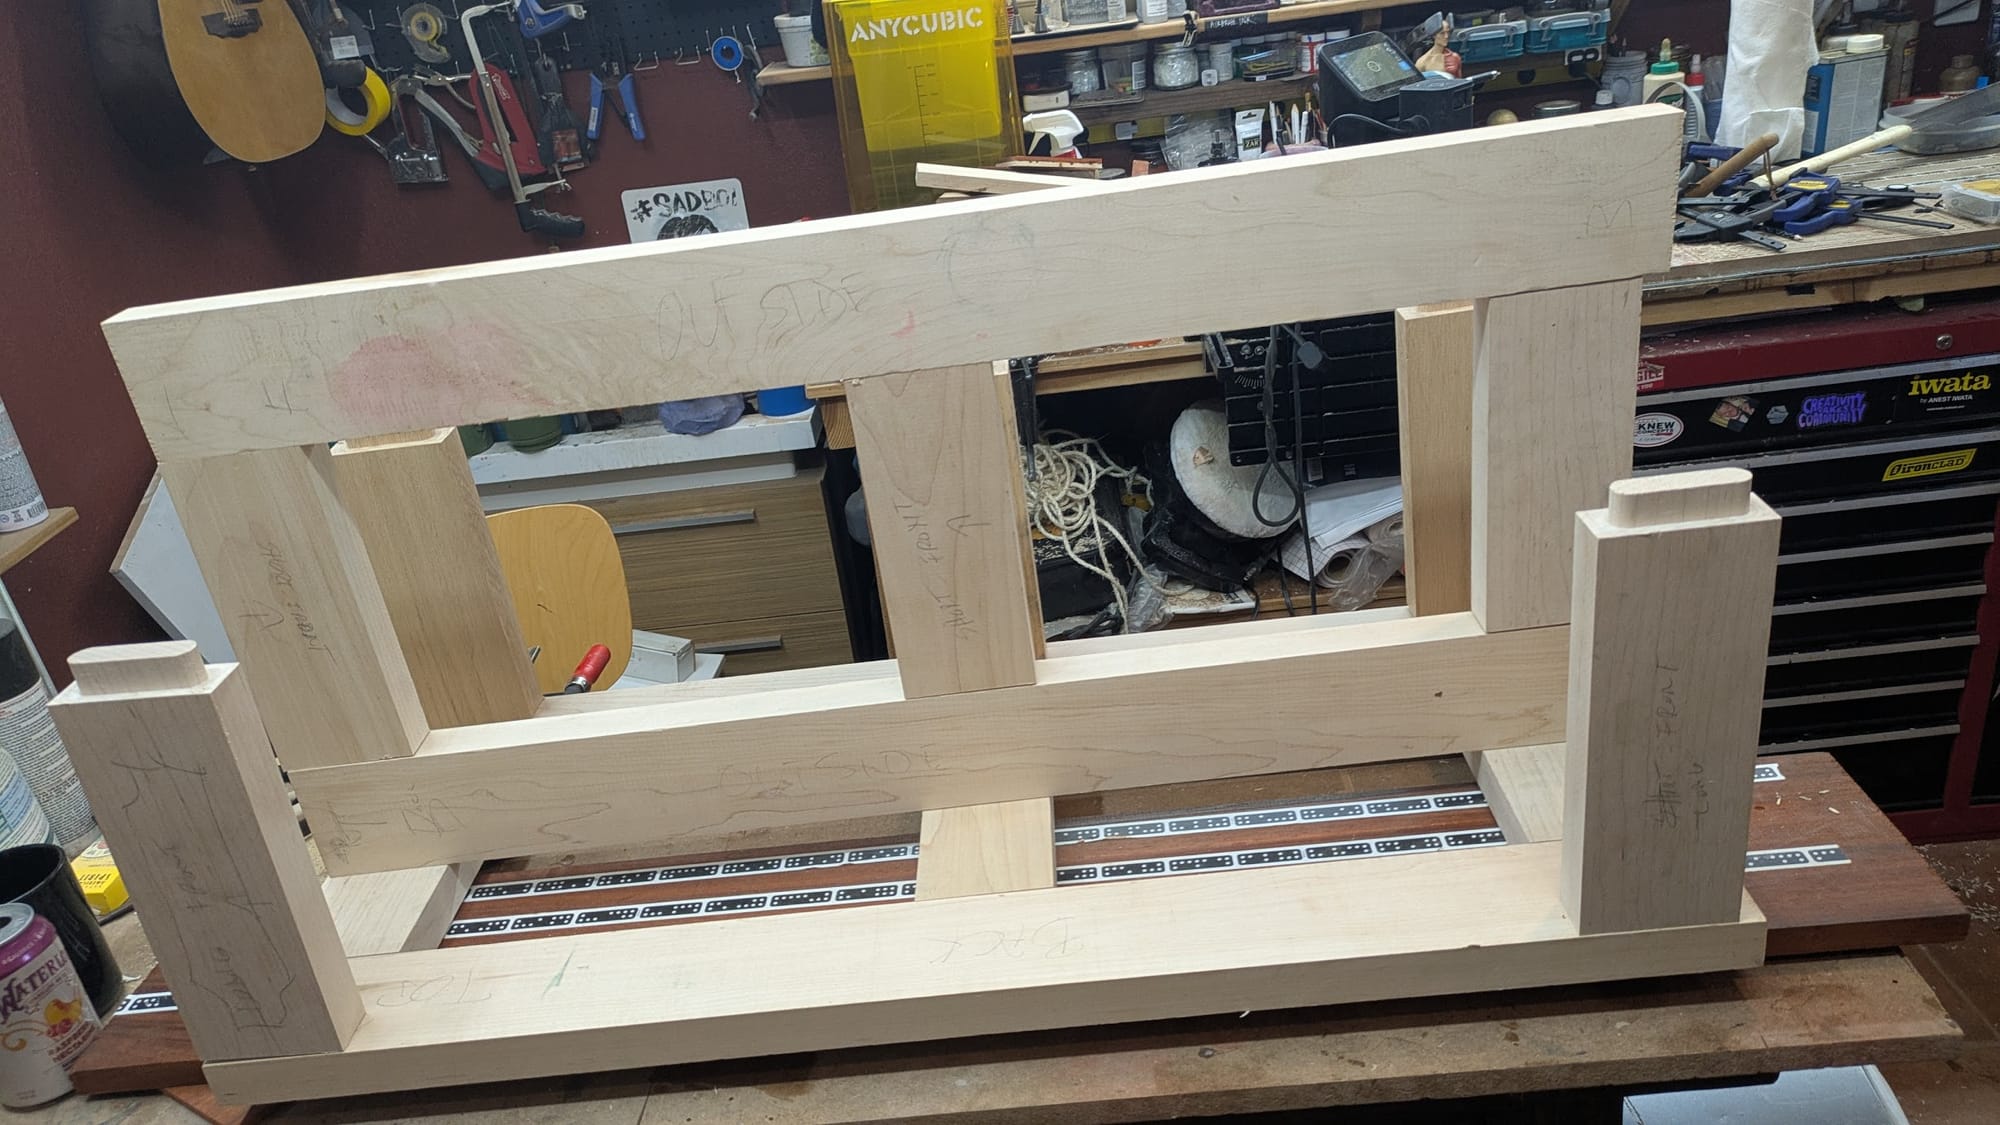
For this project I used Mortise and Tenon Joinery which I created using a Shaper Origin. I have a very small shop without a lot traditional power tools like table saws and joiners, so I typically buy wood that is mostly ready to go. Anything I need to cut, I use Japanese pull saws. Below you can see some of the steps of building the frames
Carvings
The next step is designing the carvings - these are all created in ZBrush. Typically I sculpt these in full 3d and then use the "Project BasRelief" tool in ZBrush to project the model onto a flat plane. This in my experience has yielded better results than importing a full 3d model into VCarve and letting it generate the height map for carving.
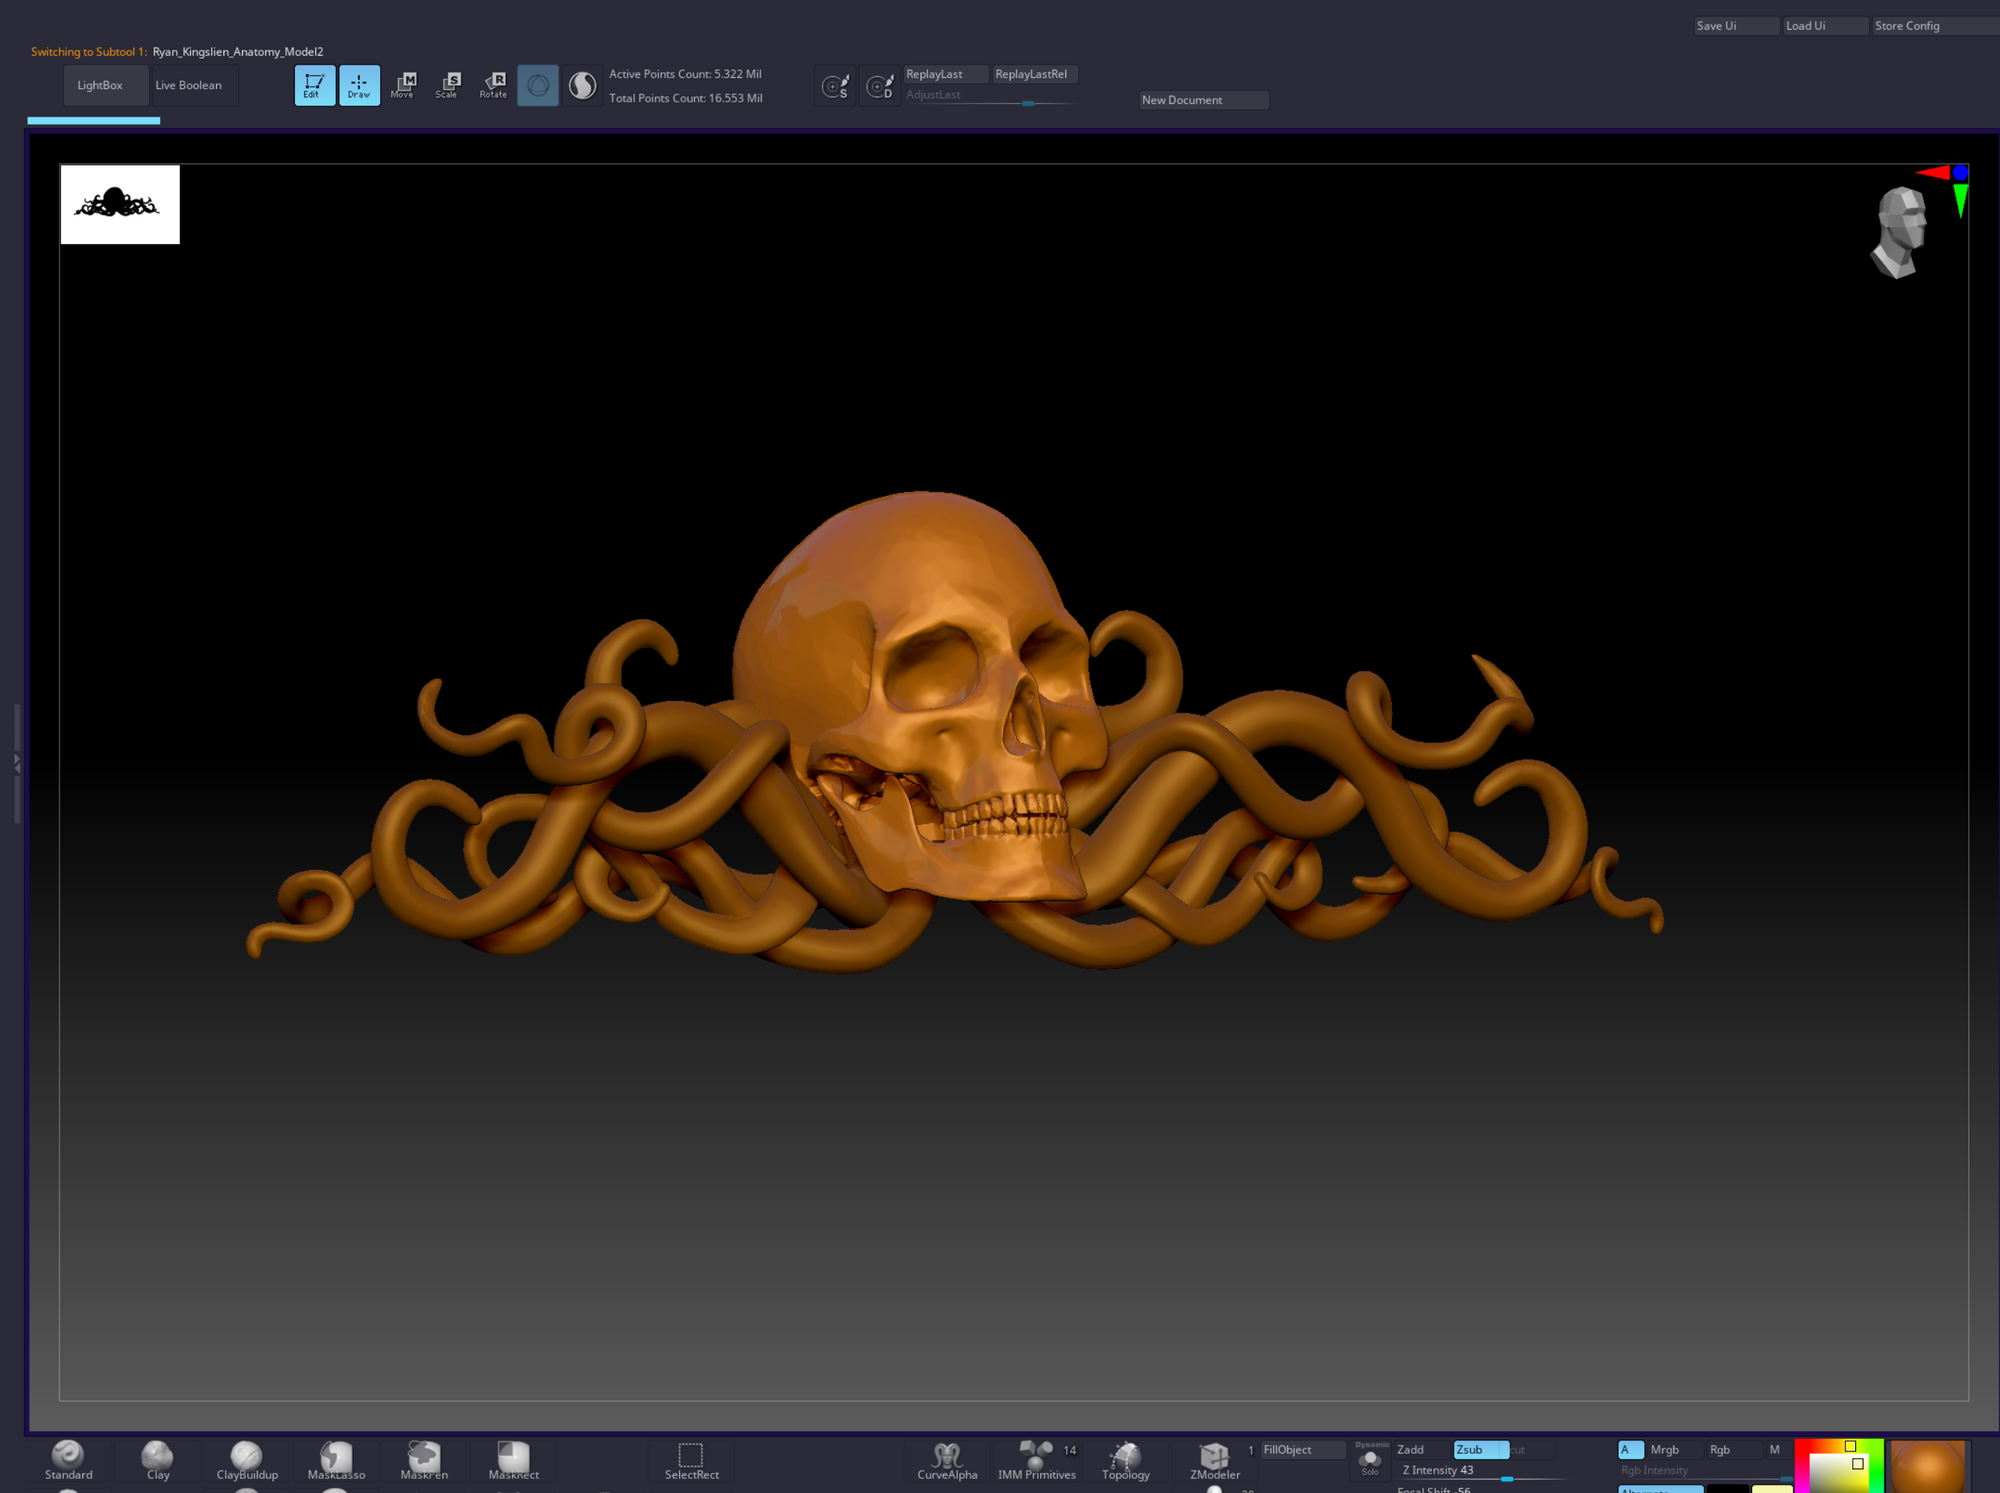
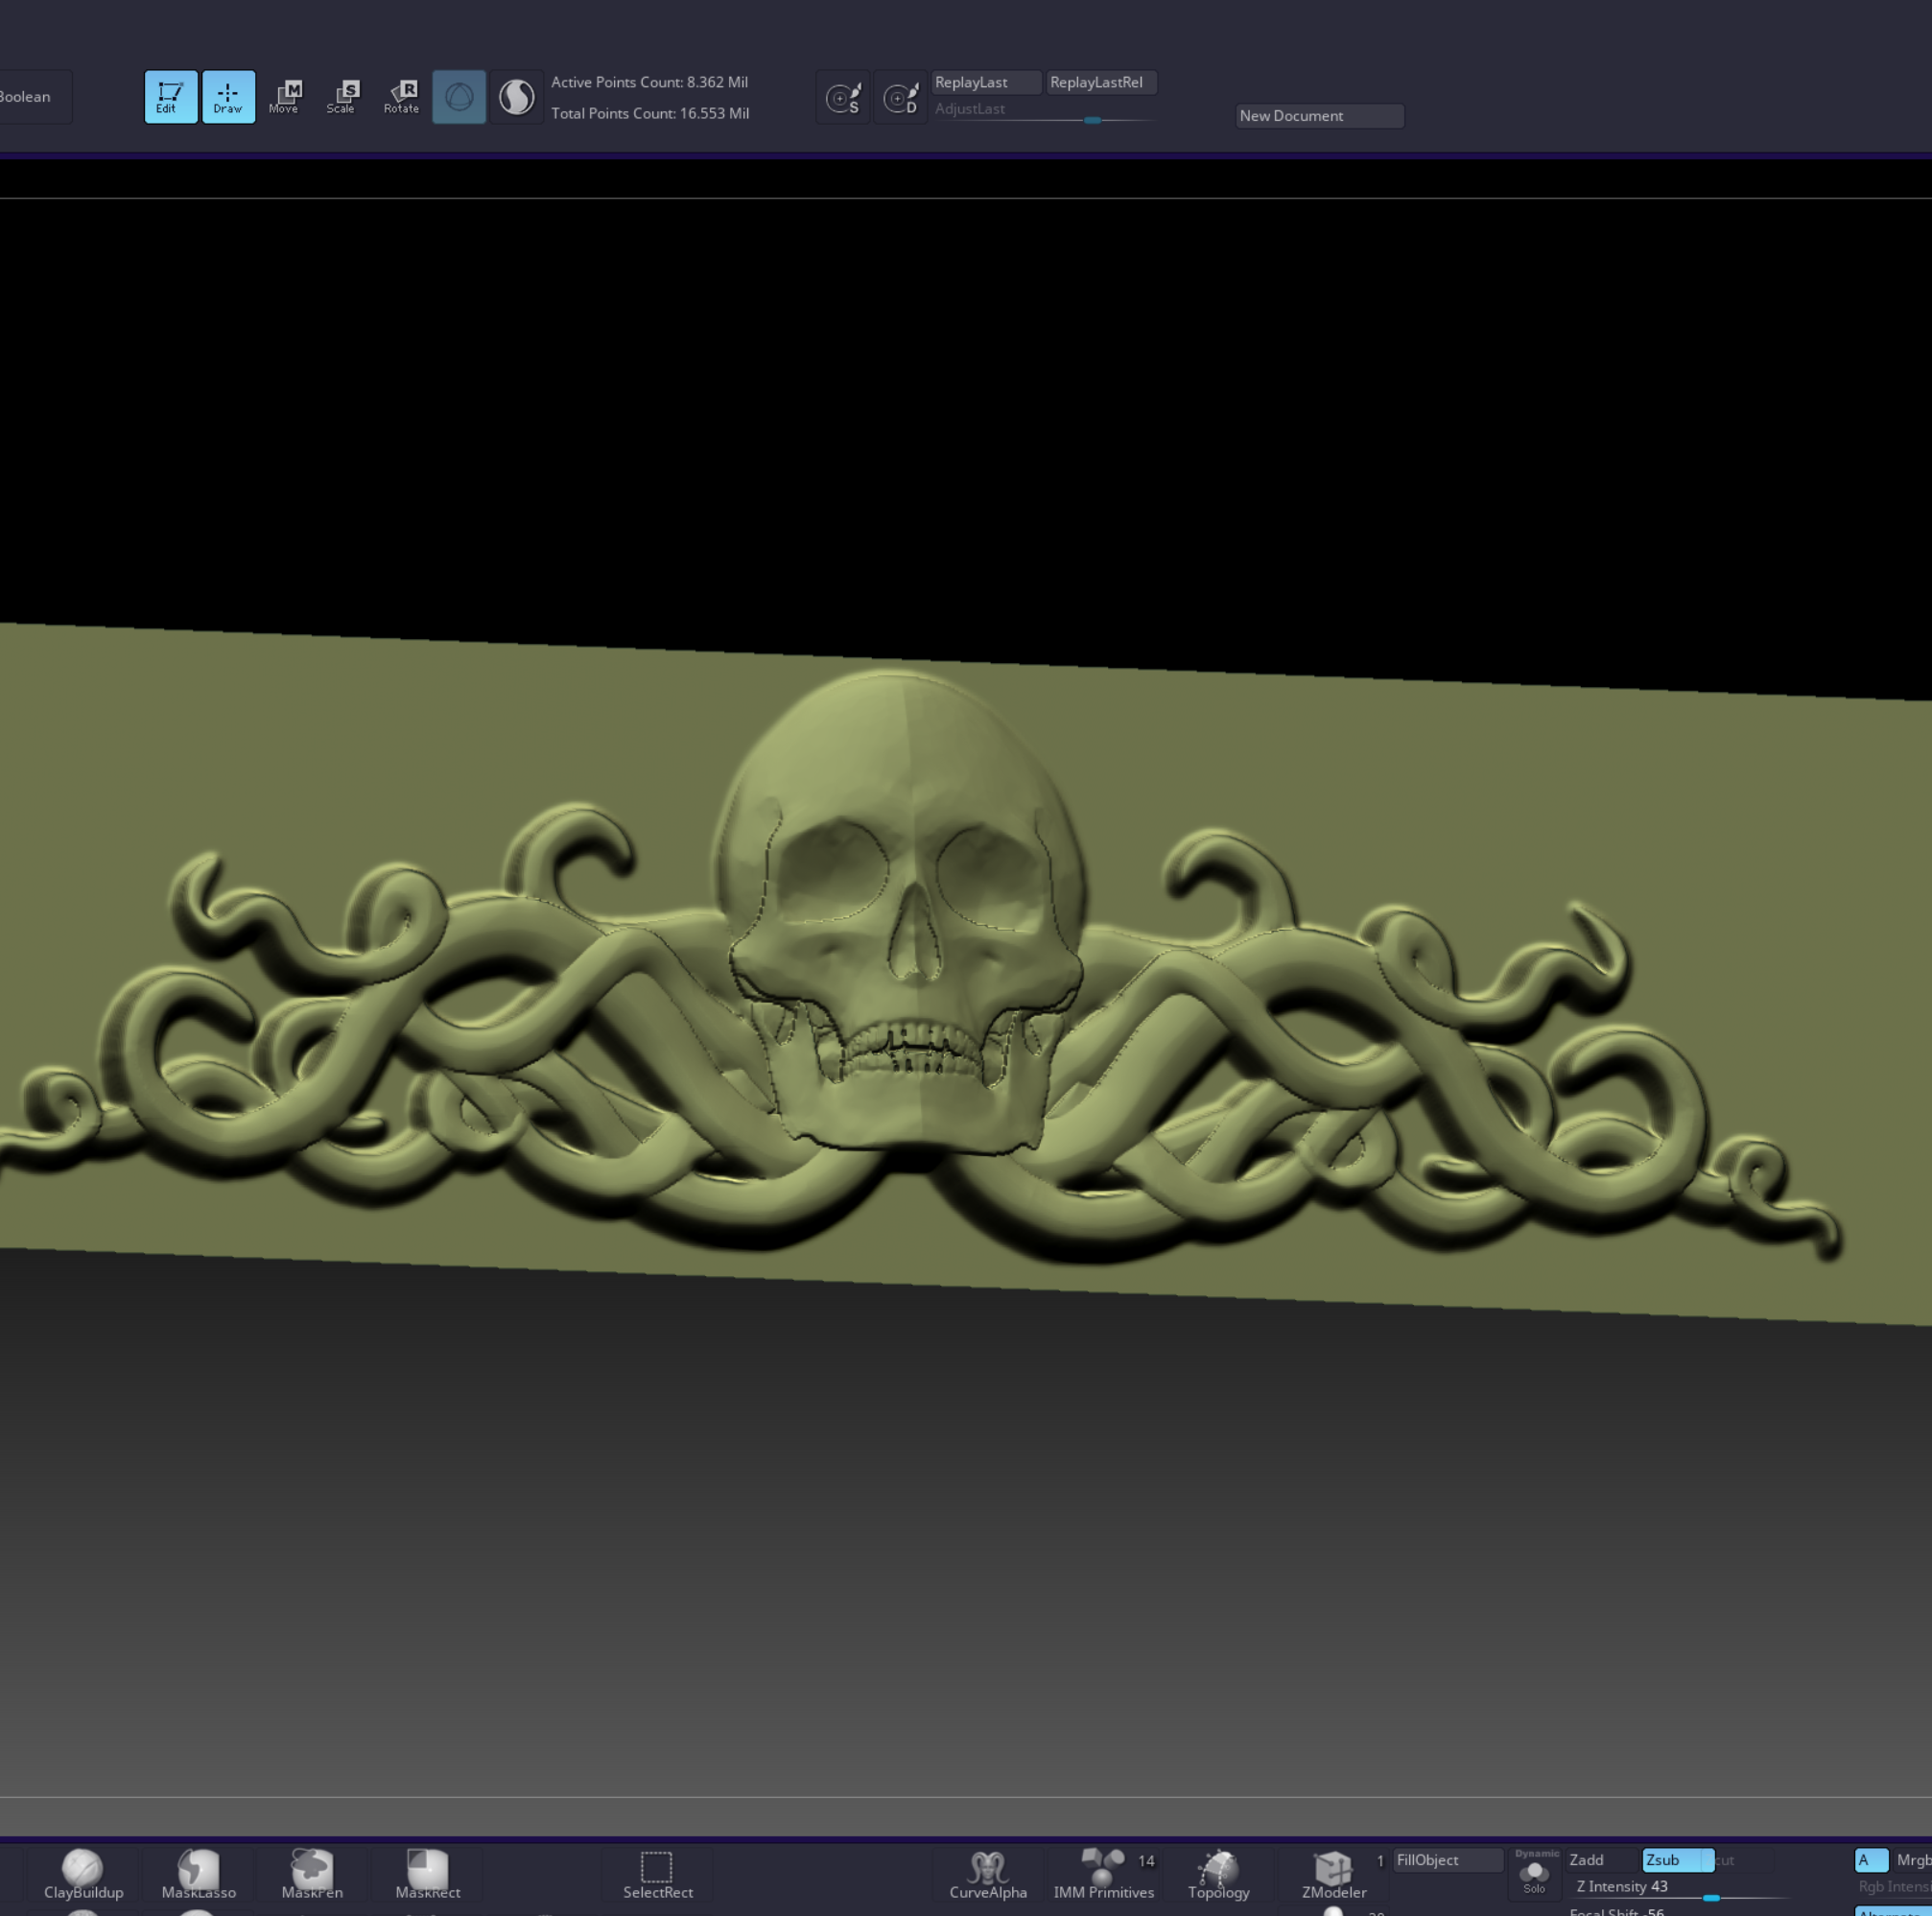
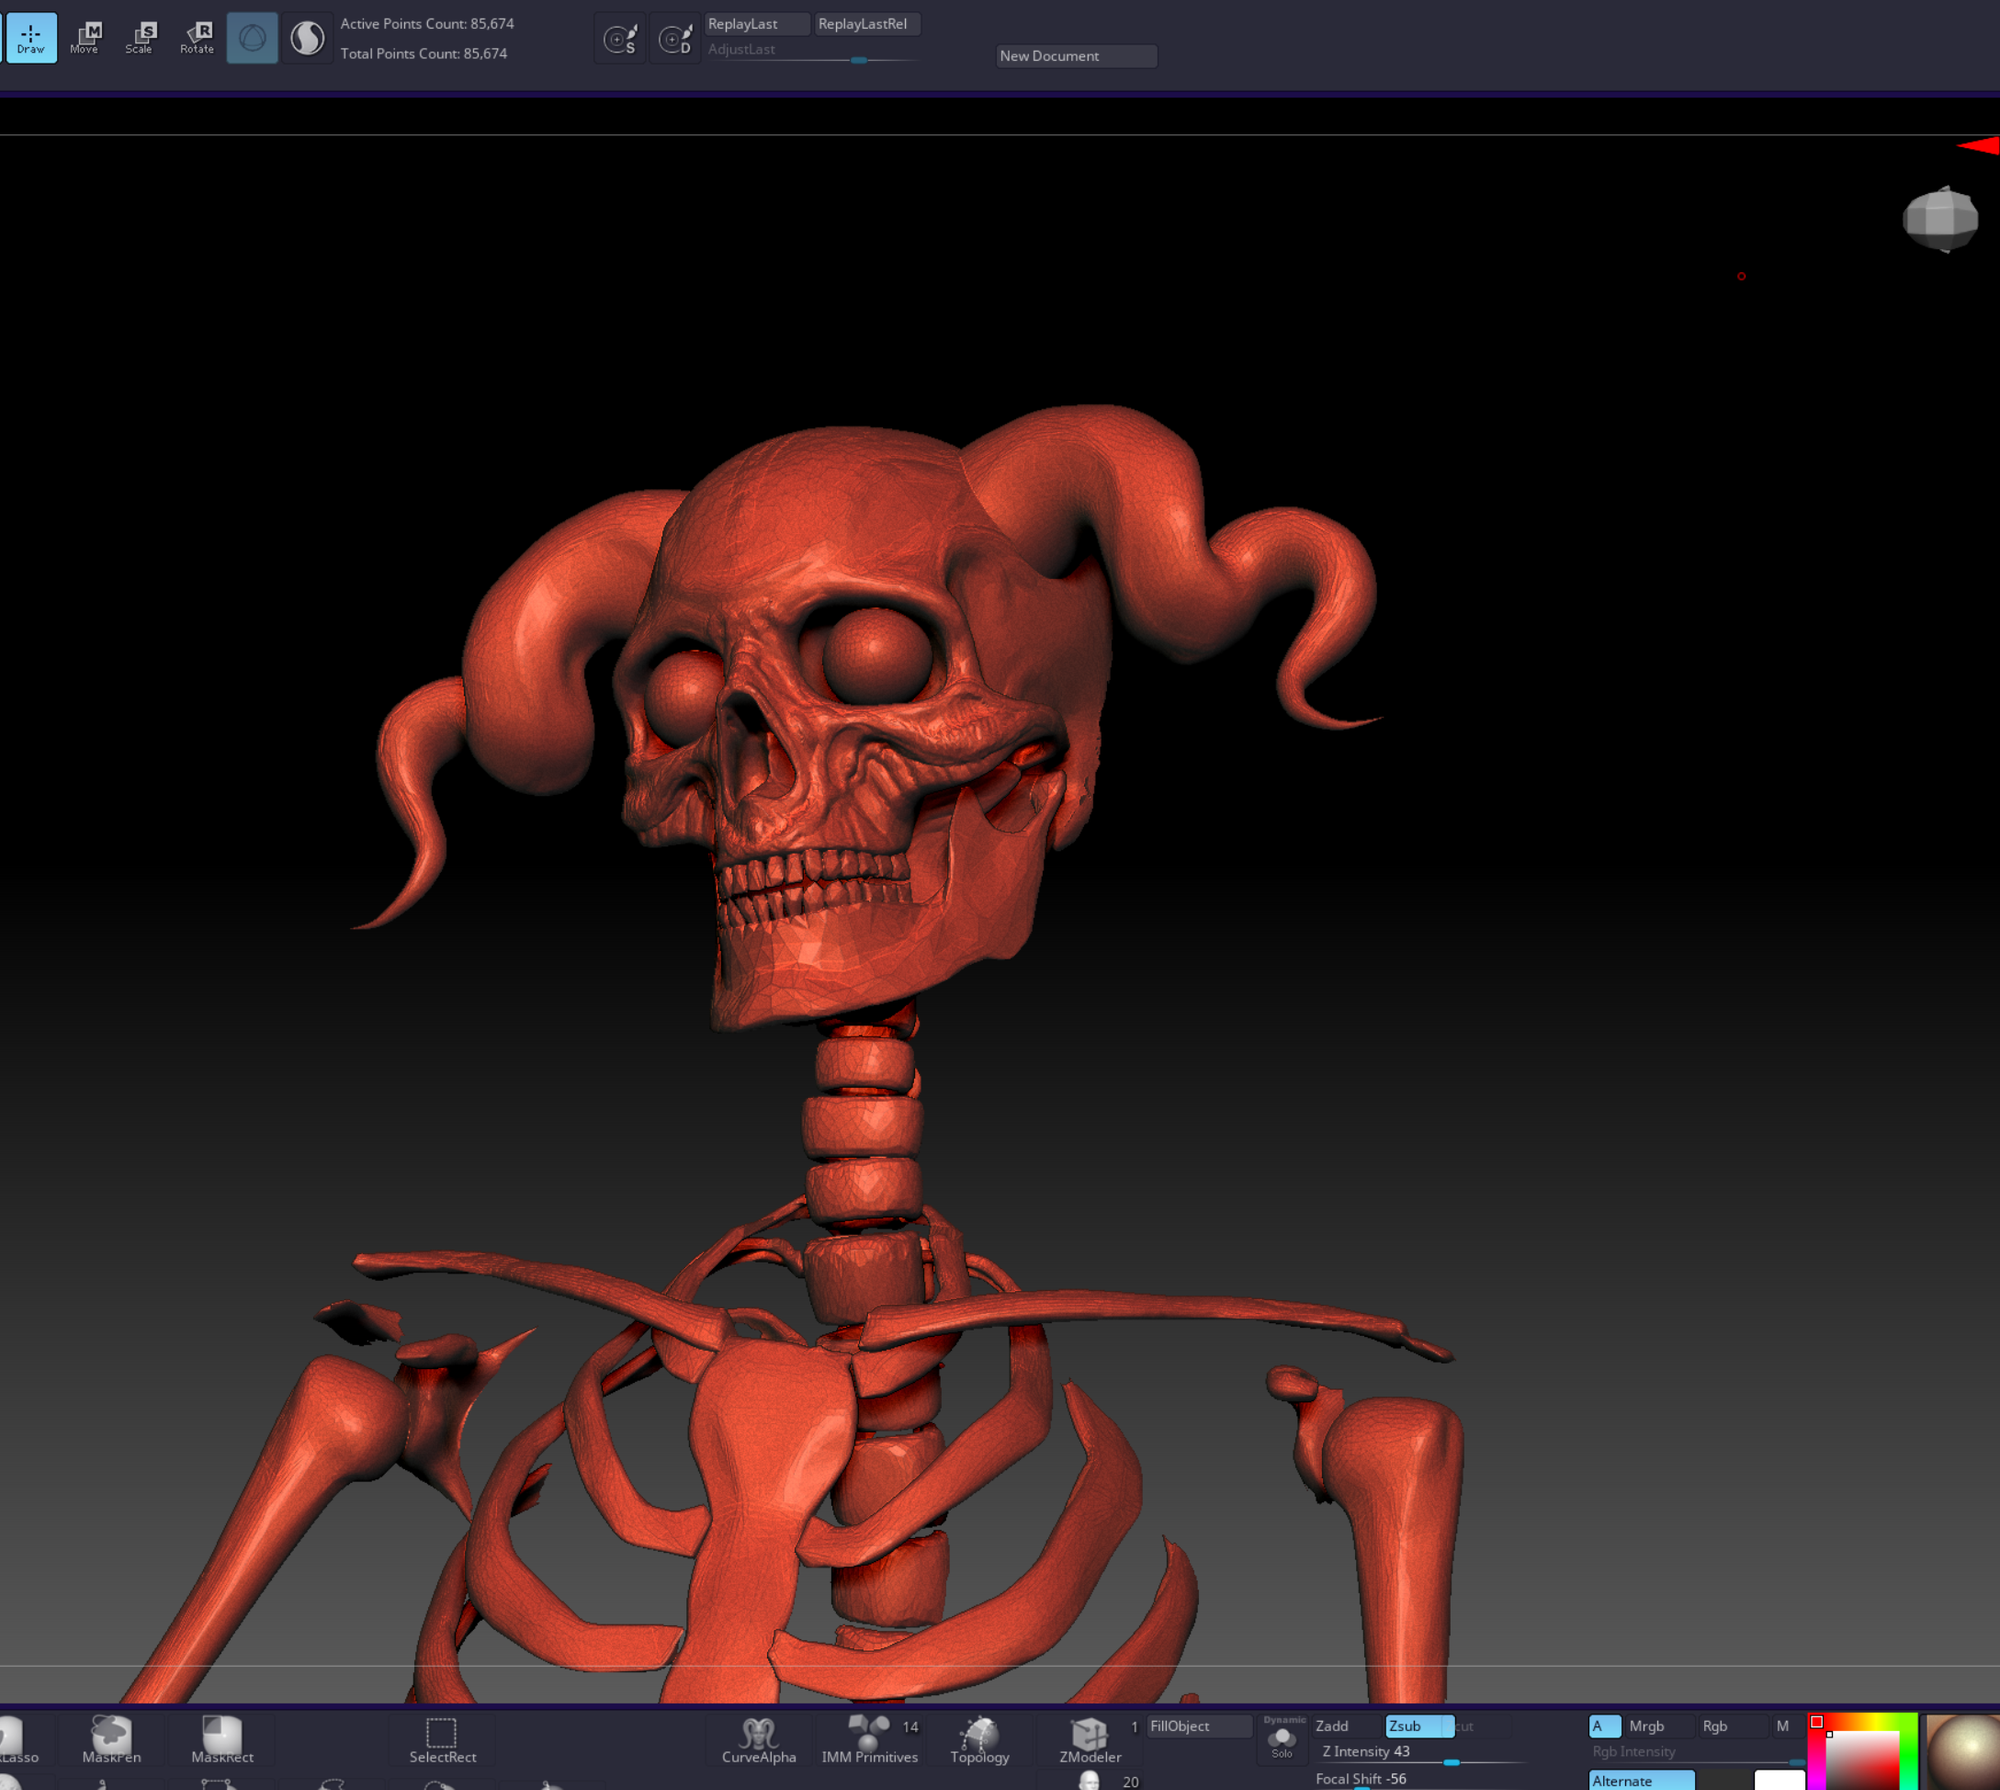
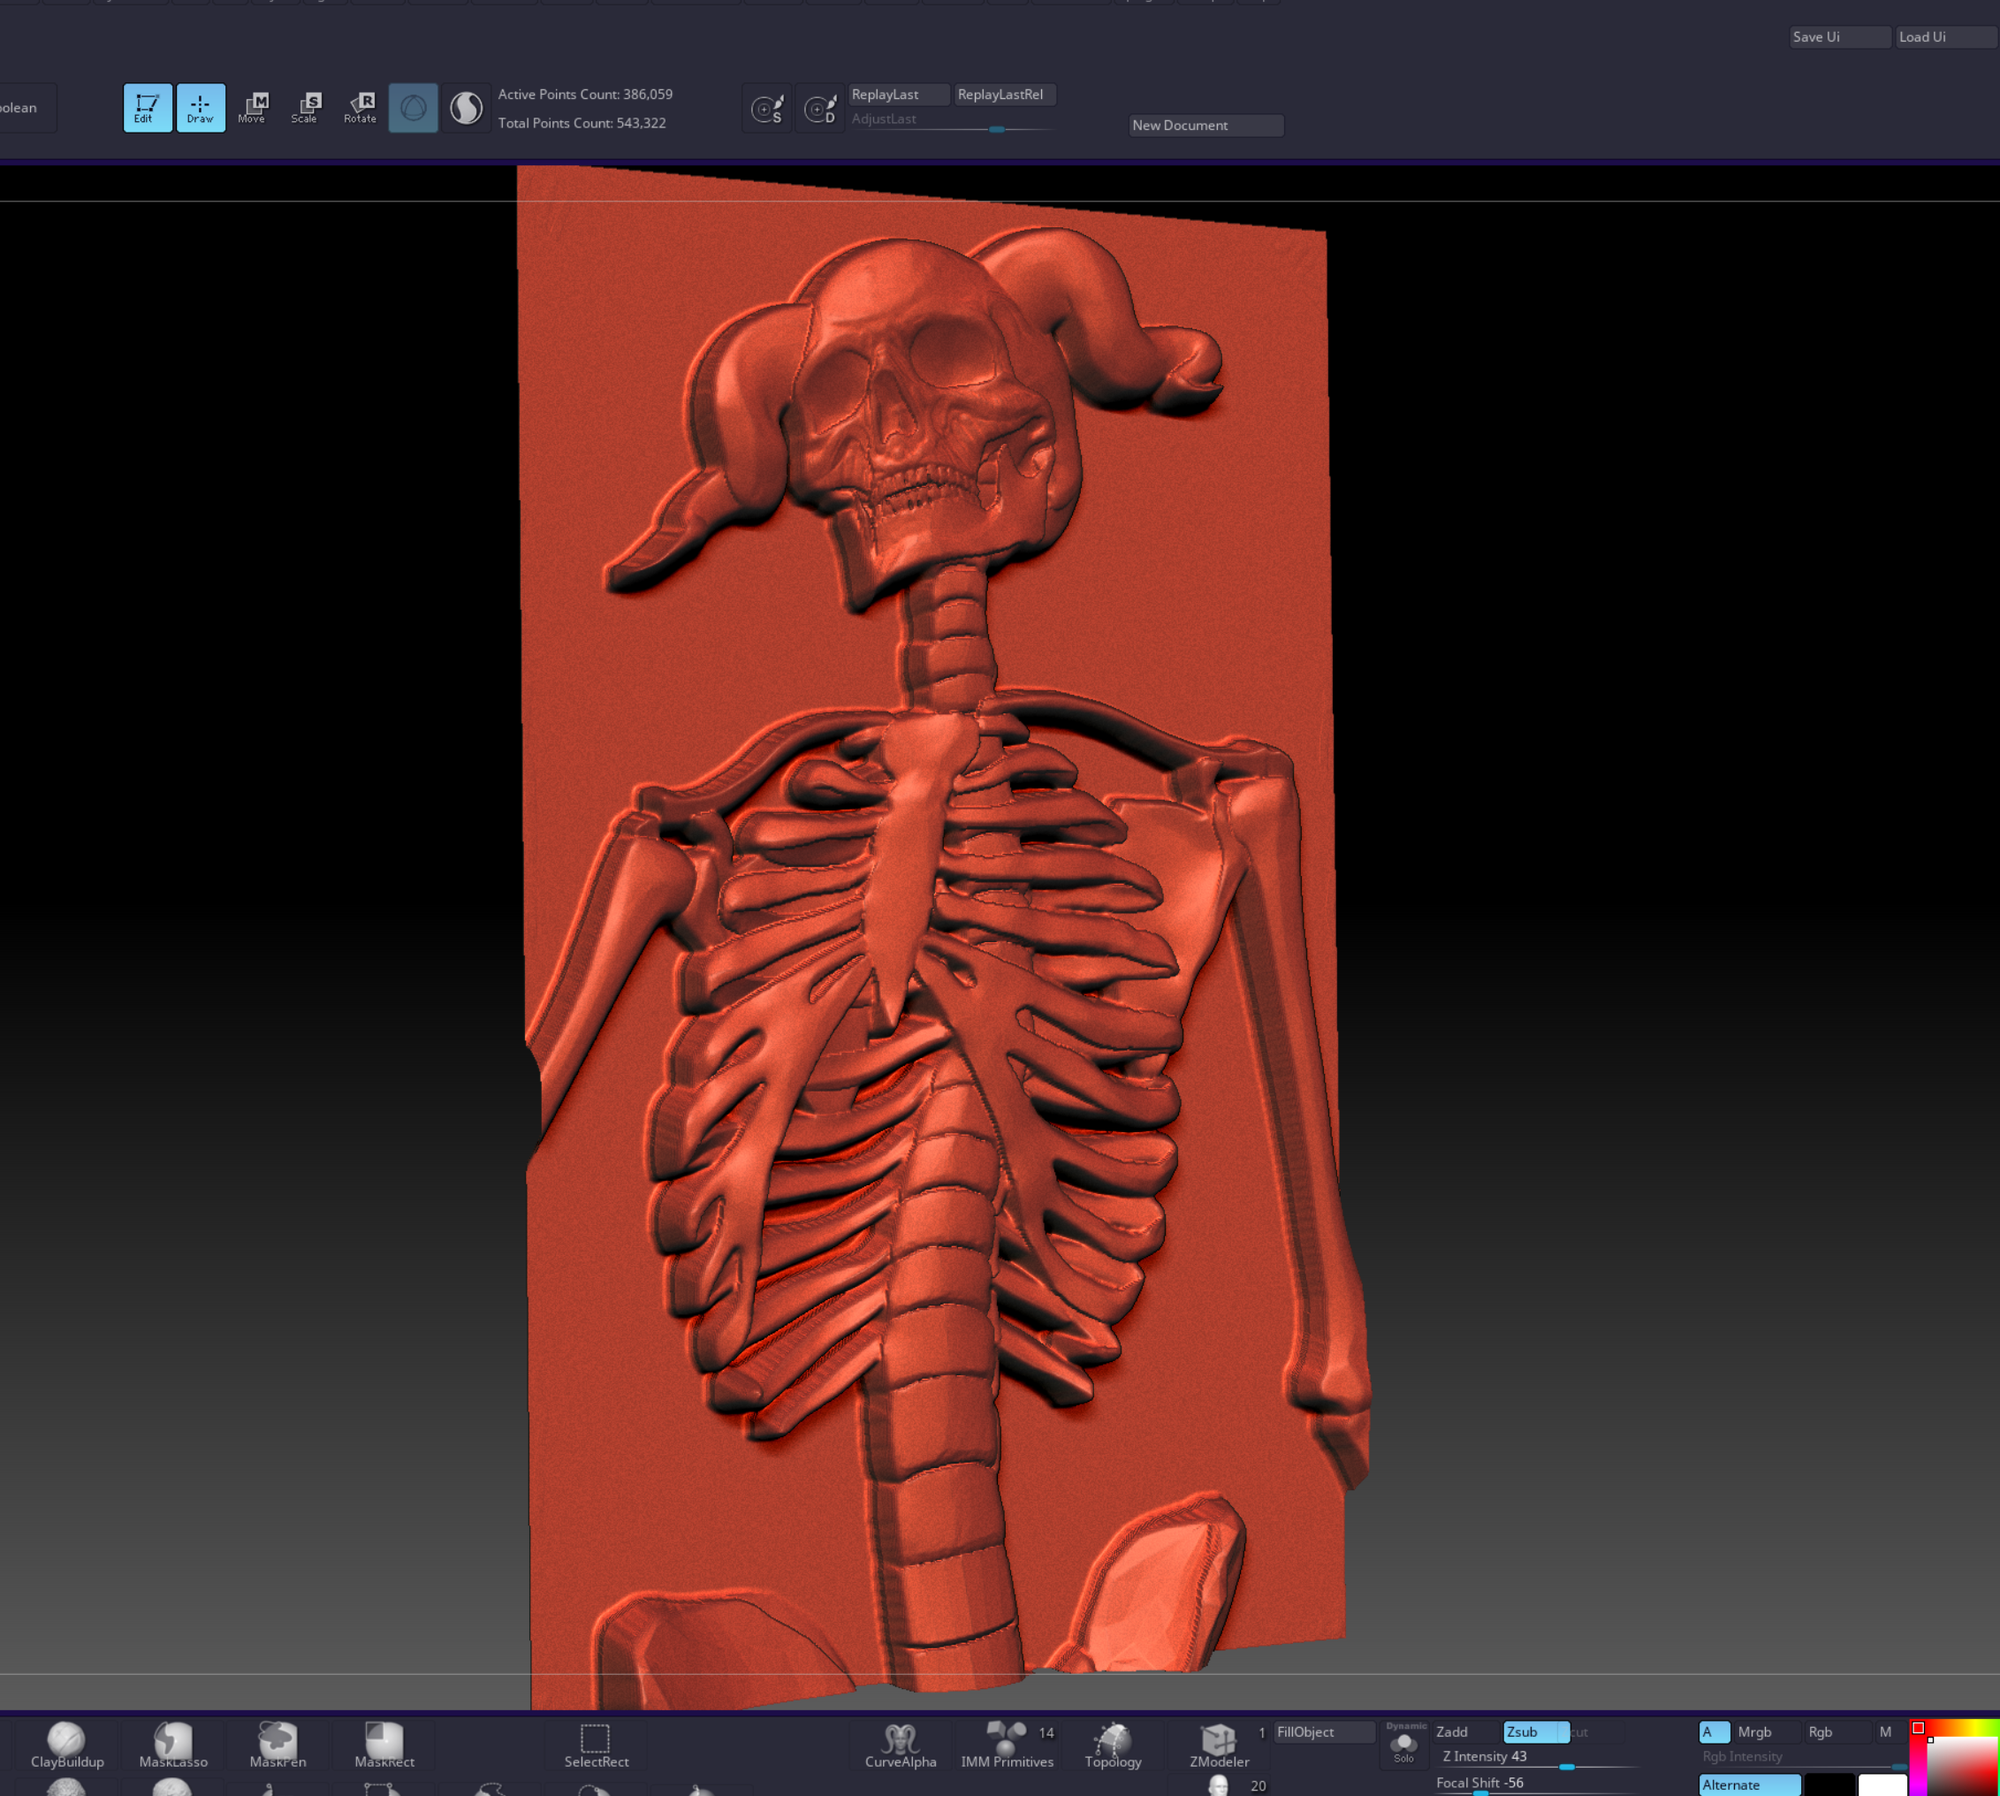
Shots of sculpting work in zbrush
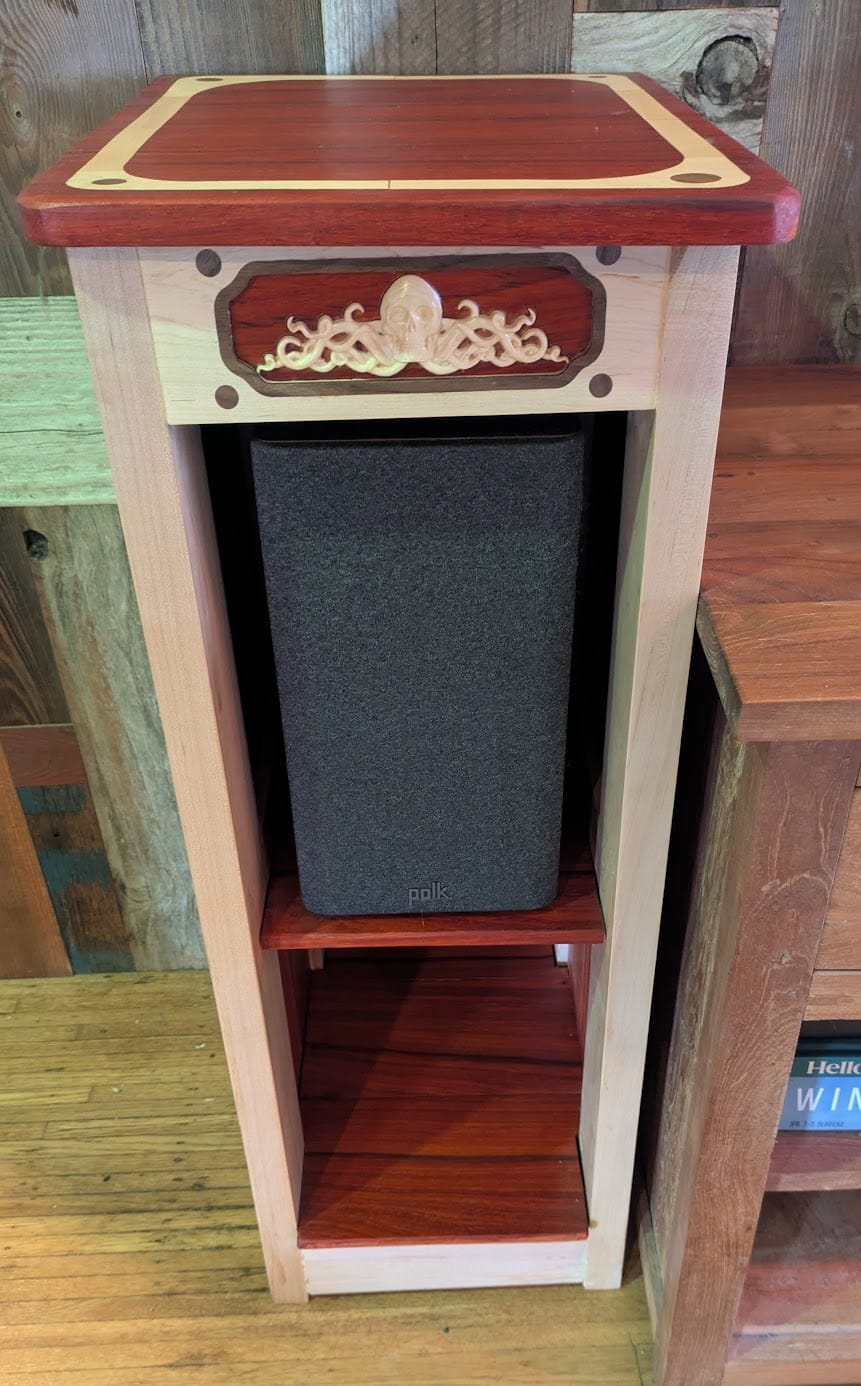
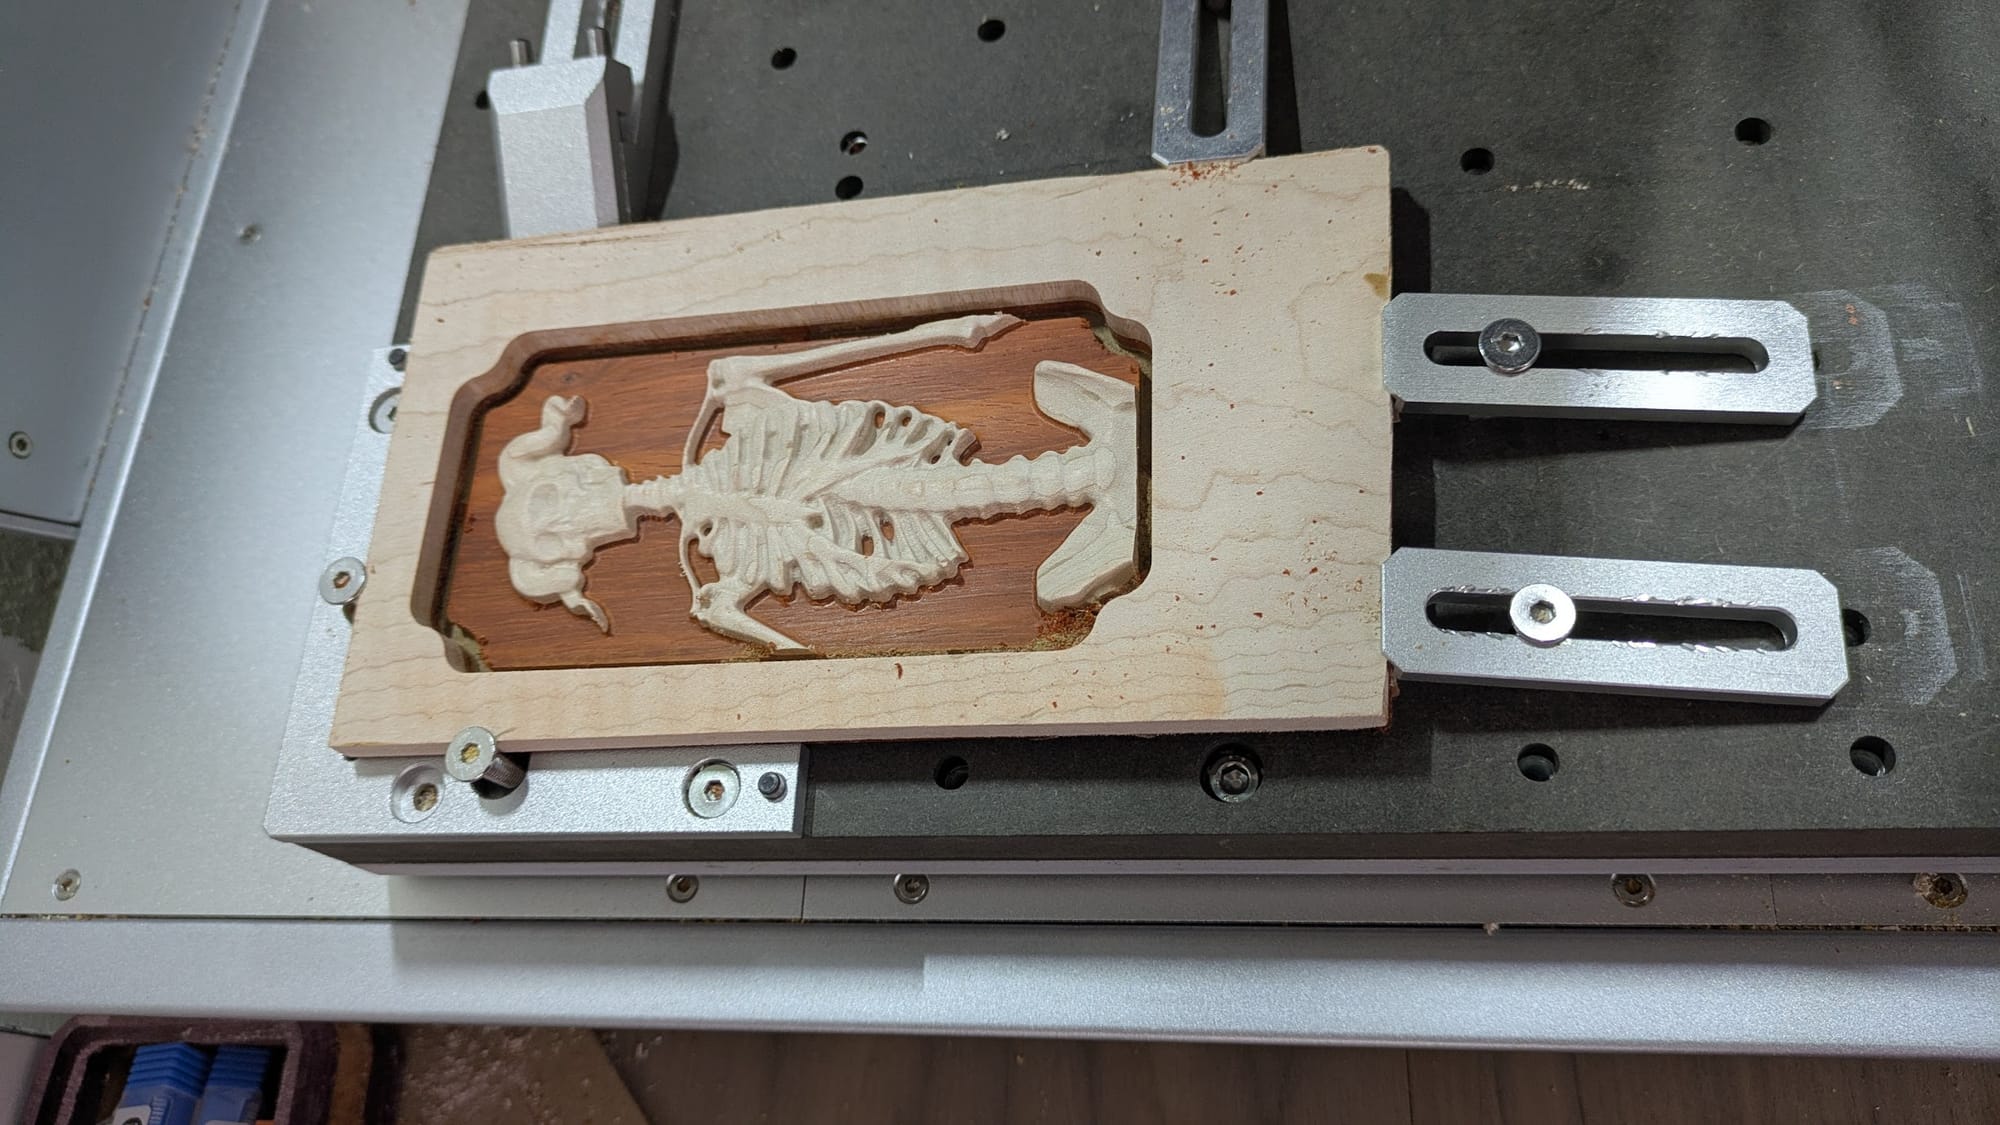
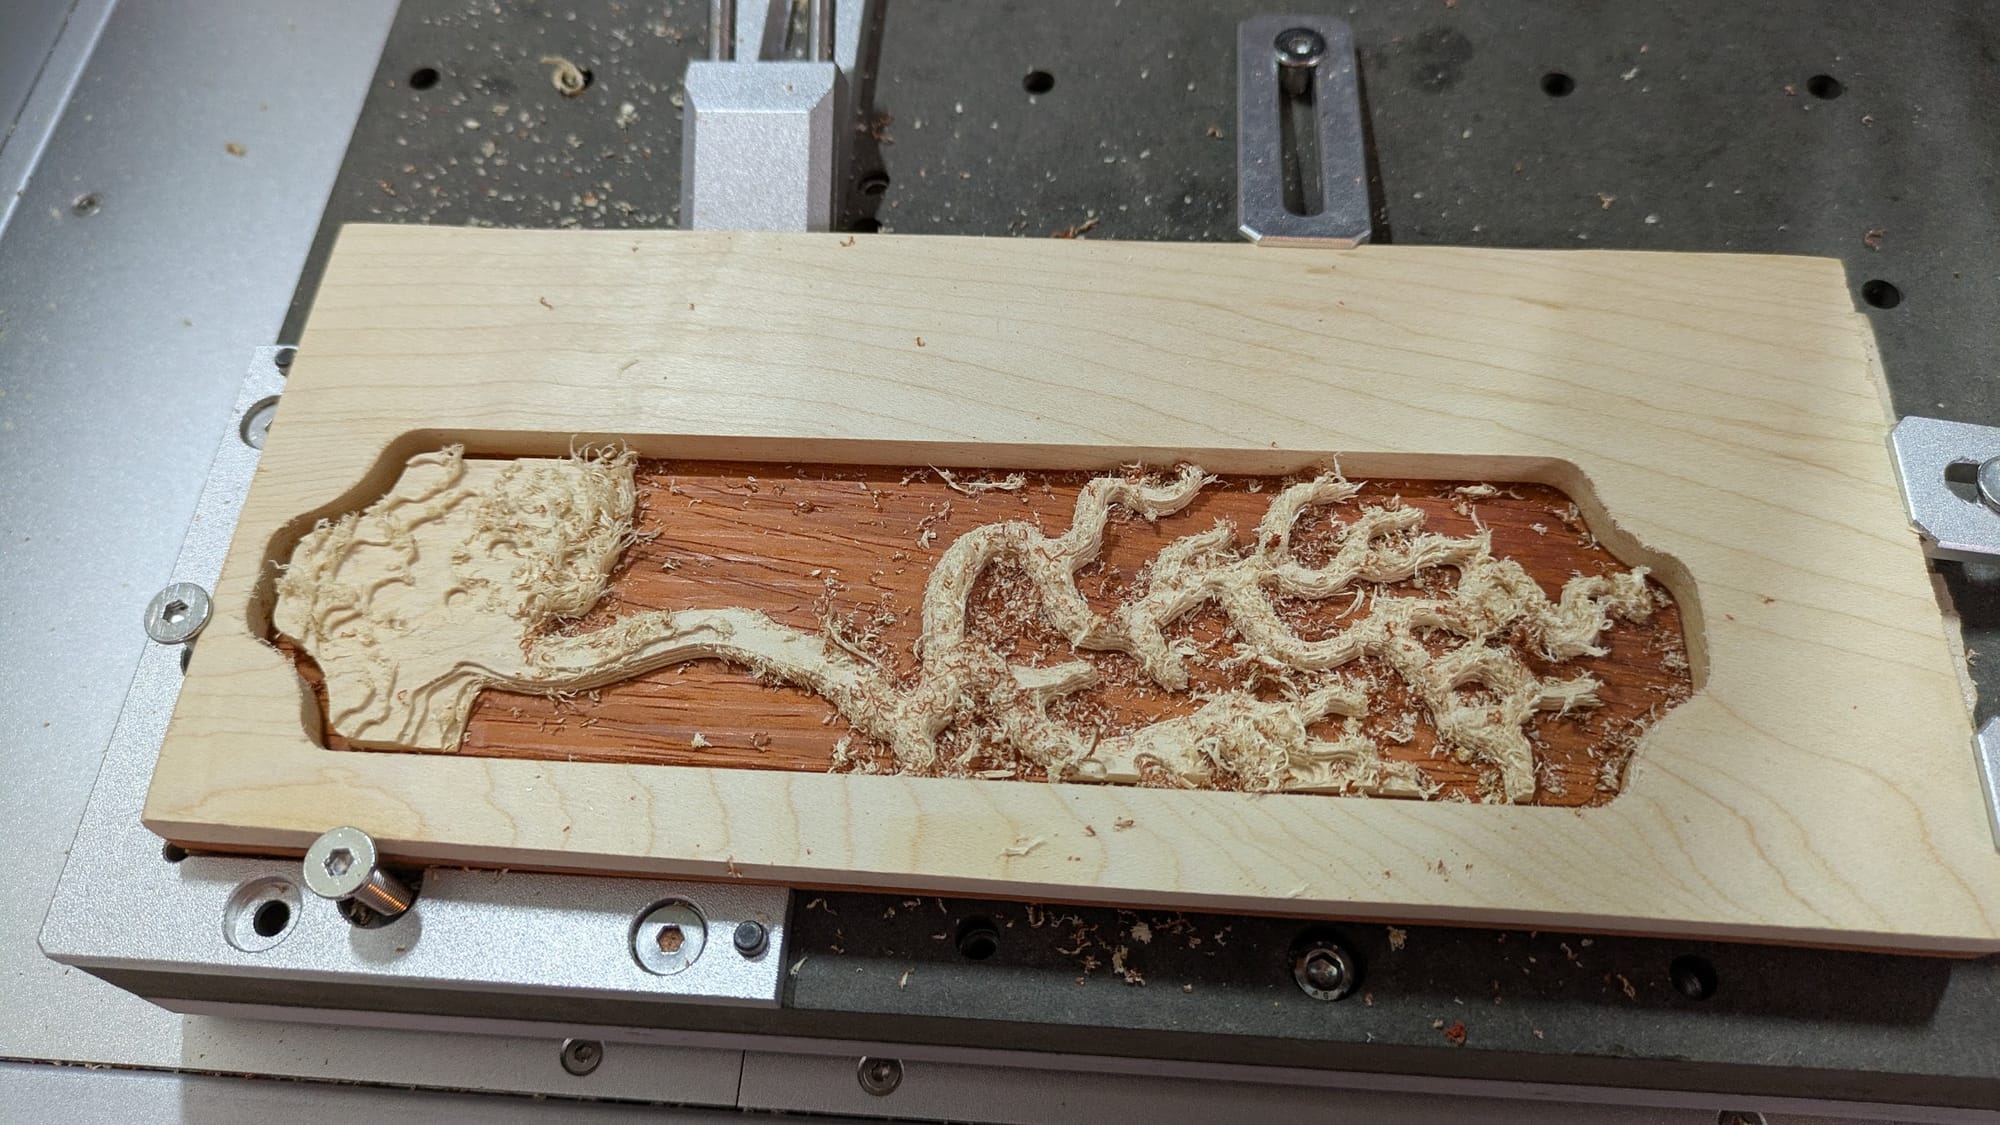
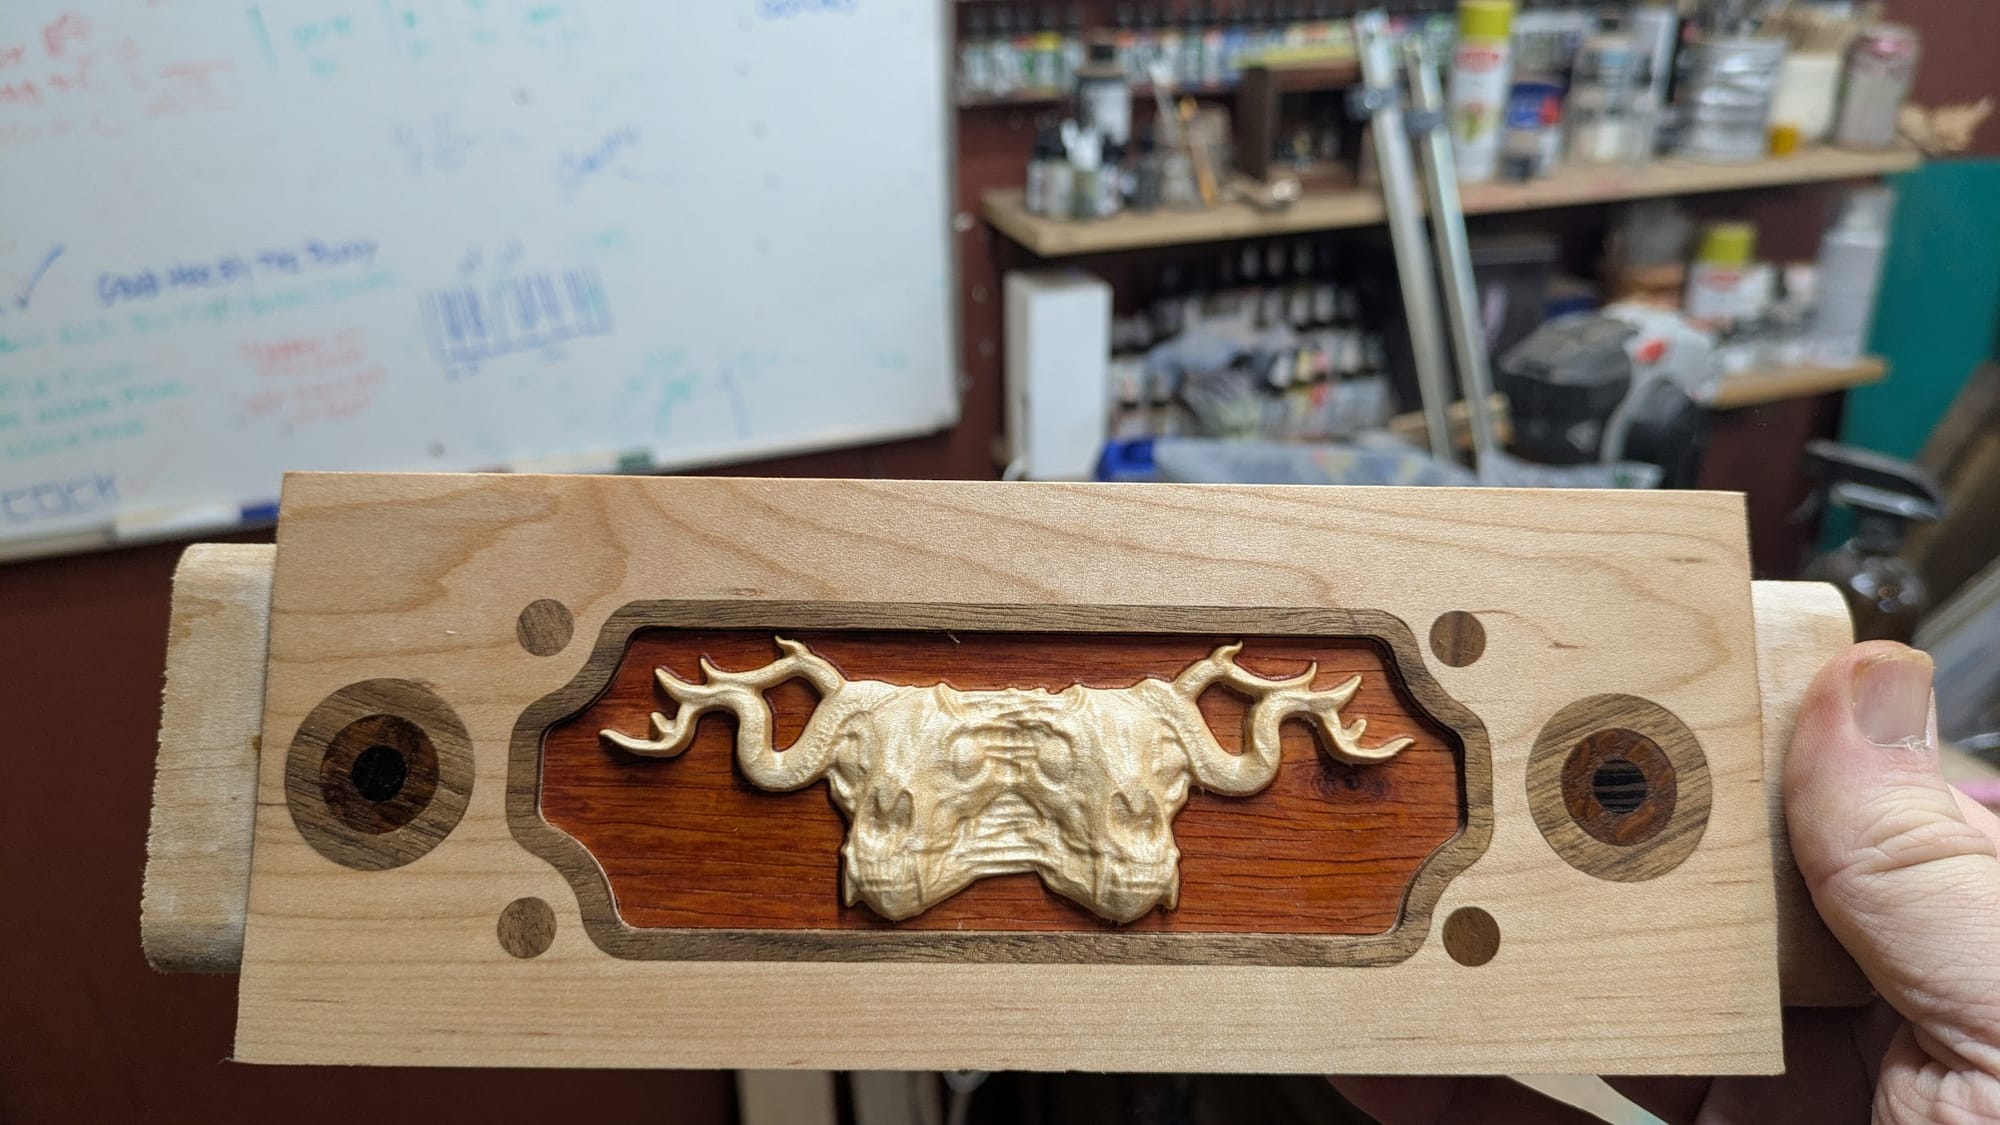
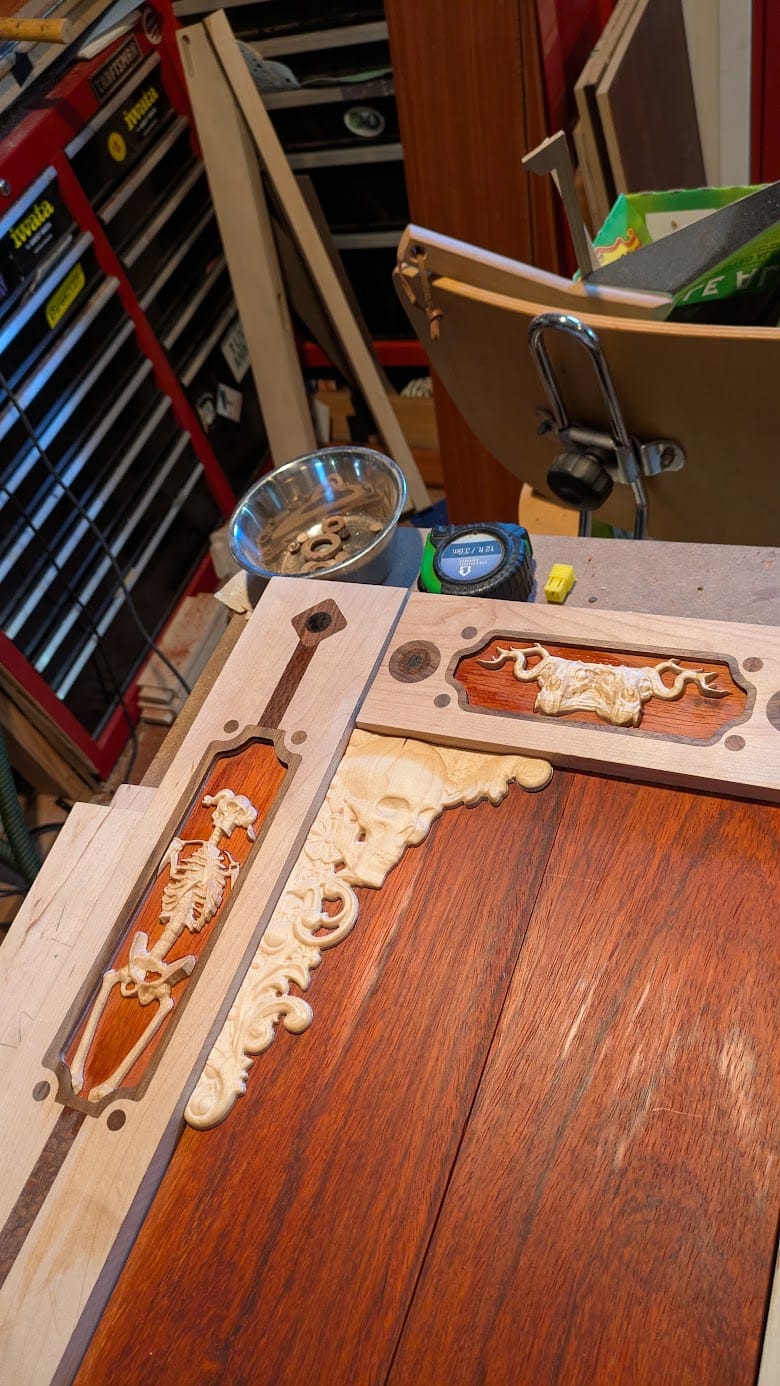
Once I have the carving designed, I need to prep the wood for carving. The way I do is I take 2 planks of wood of different types. In this case I used maple and paduak. I laminated these together using glue and clamps.
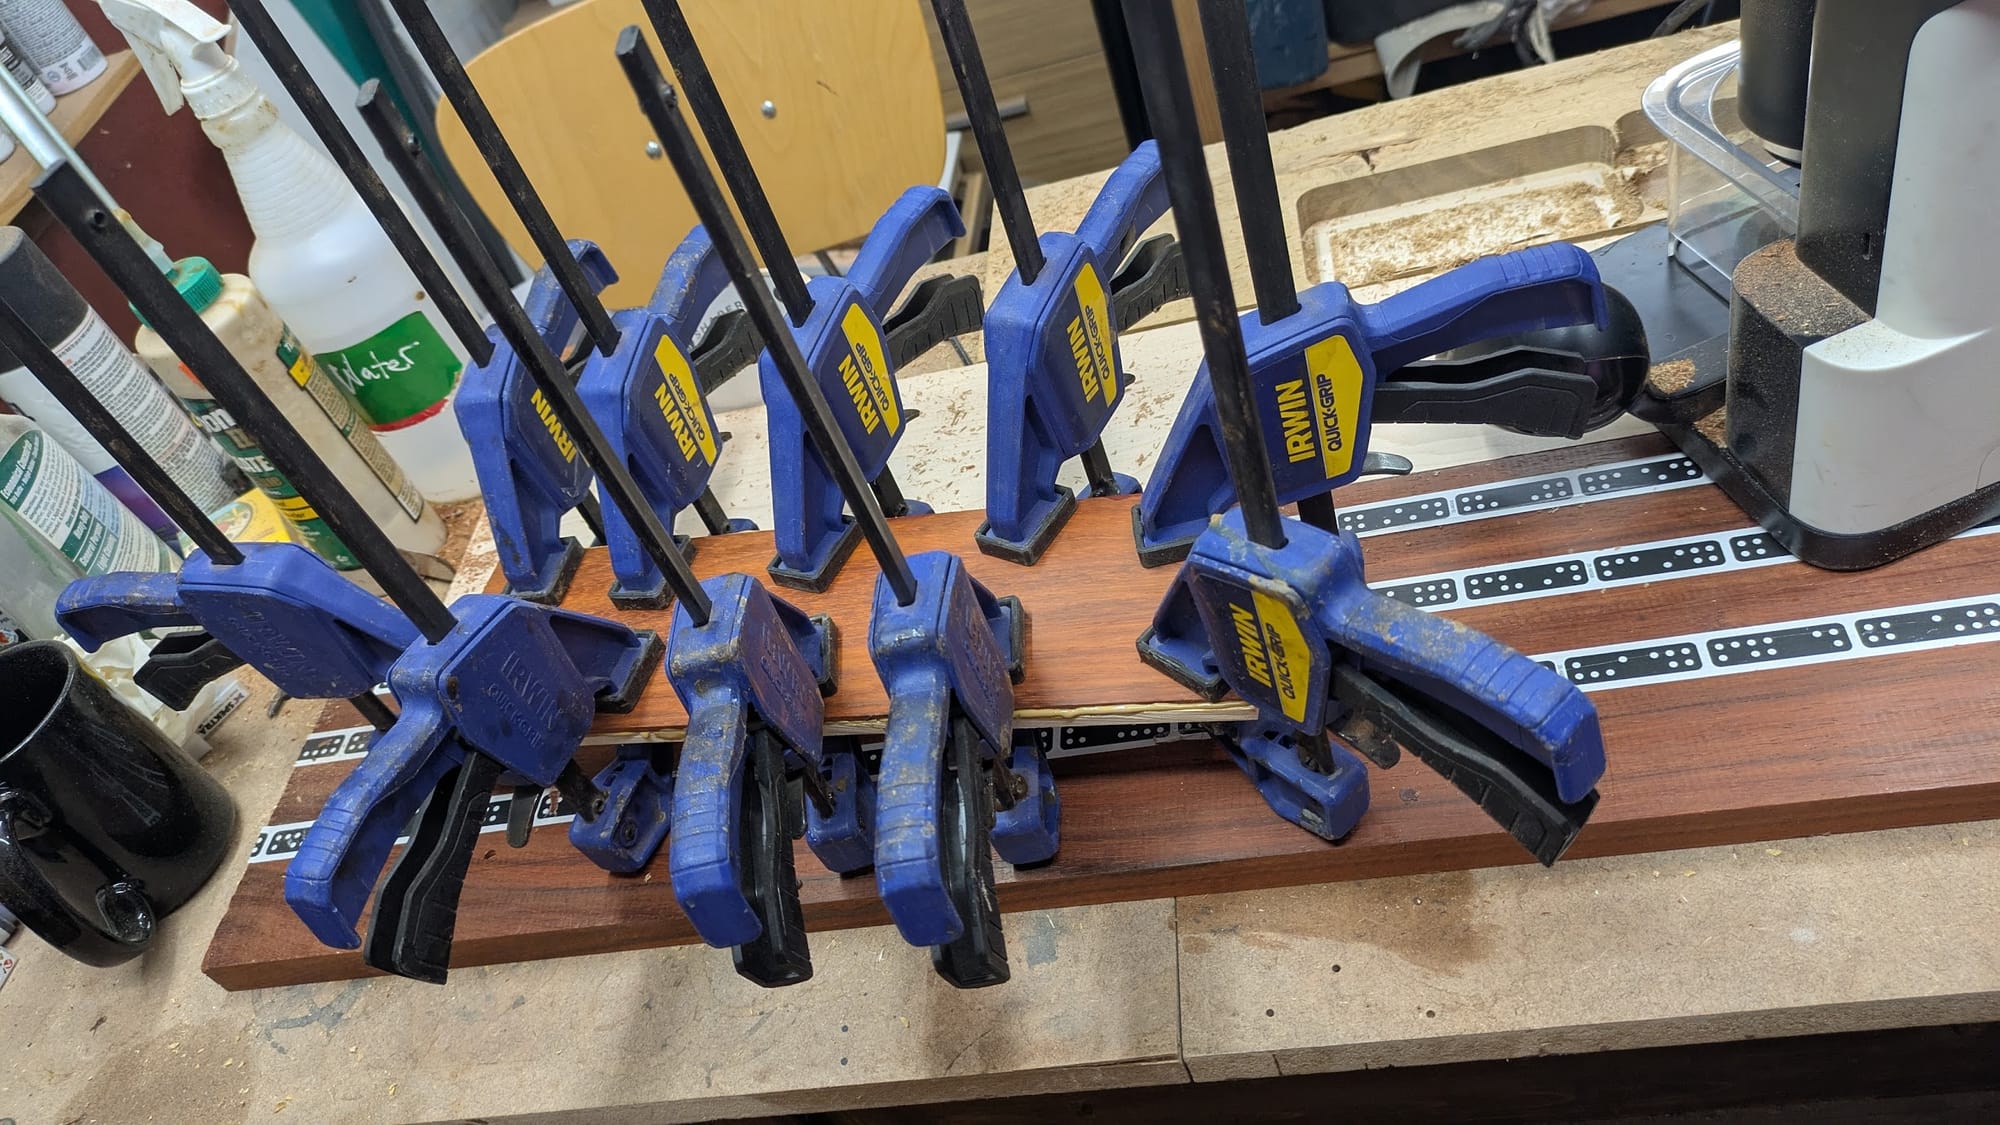
This laminated wood allows me to carve the sculpture through the first layer to reveal the second color, making it much easier to read the silhouette of the sculpture.
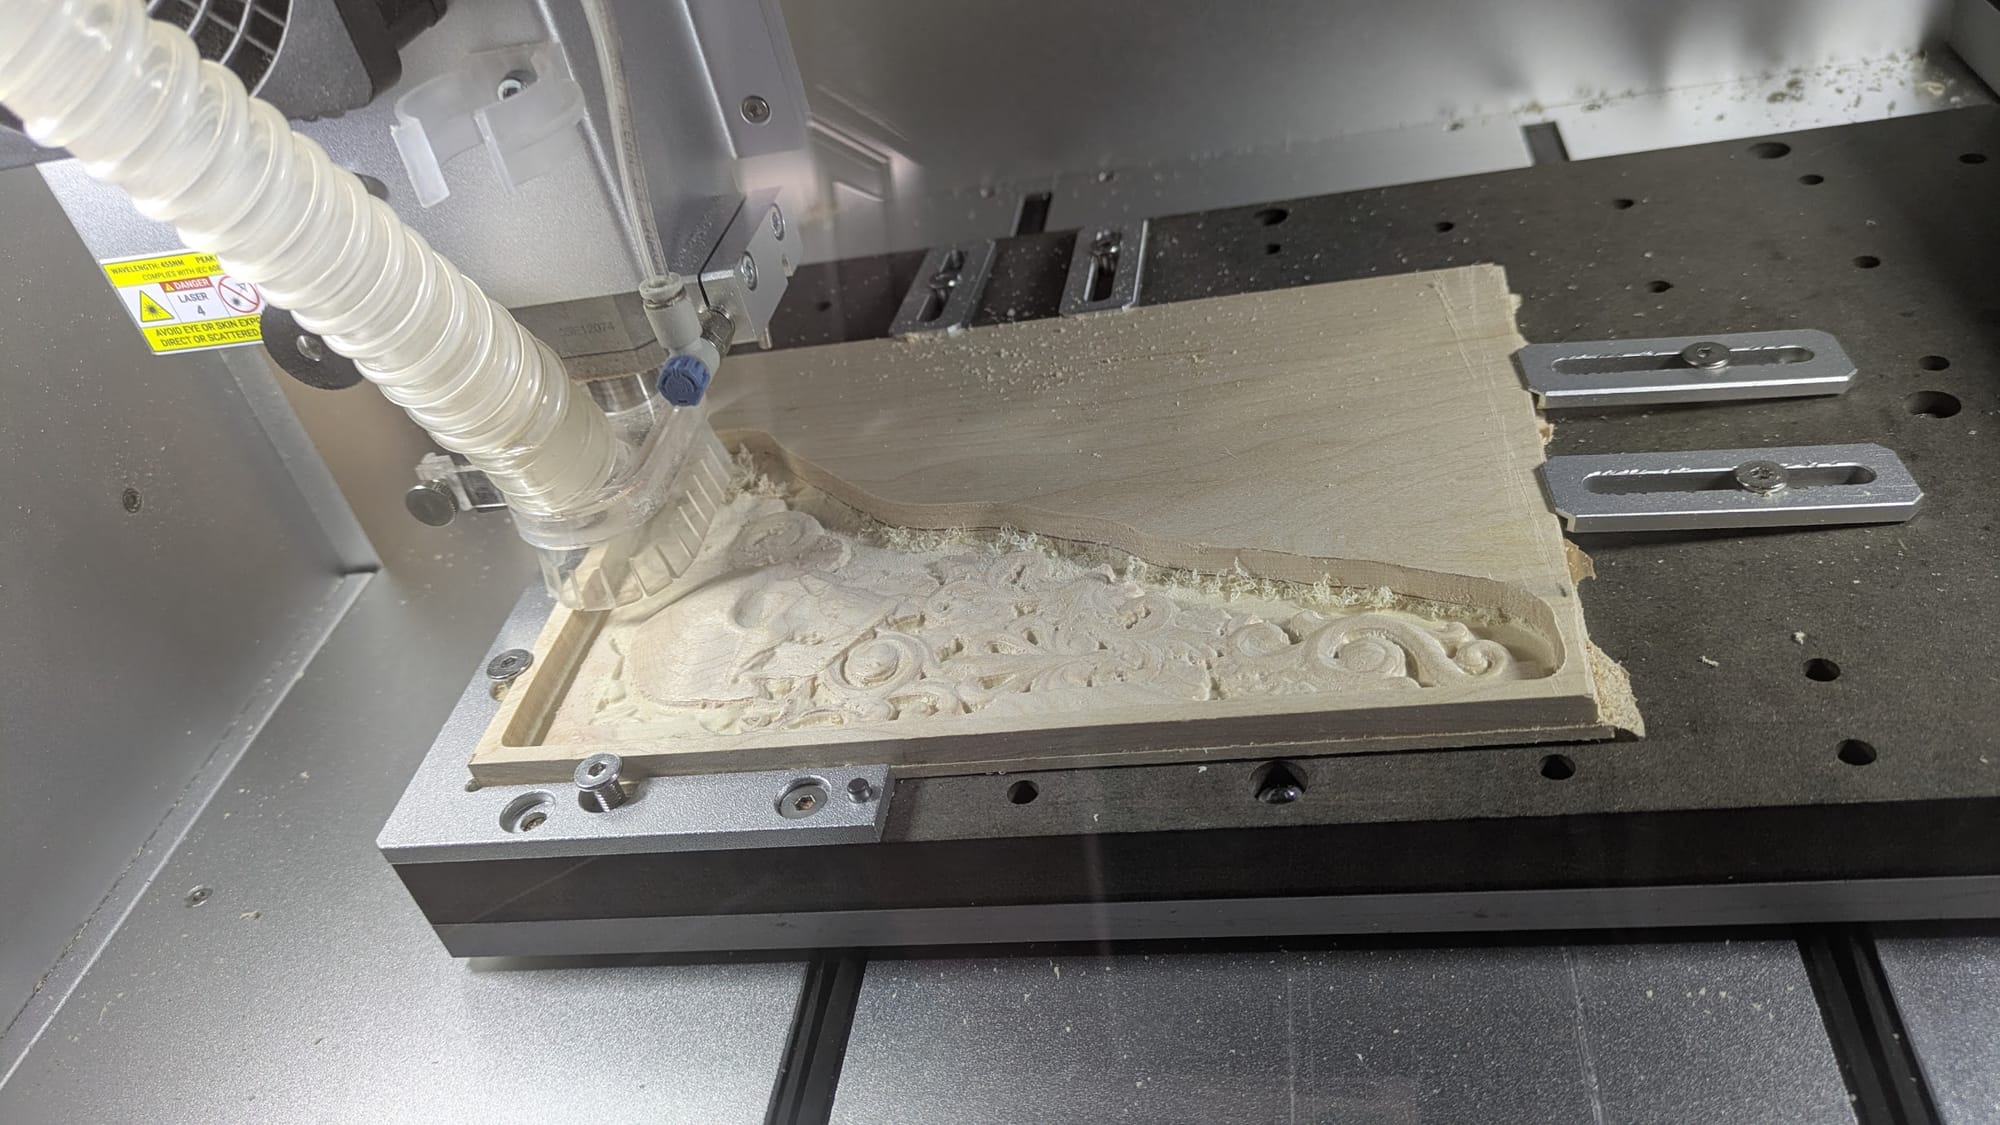
For preparing the file for 3d carving in the CNC machine, I use VCarve, which lets me import my sculpt and set up all the cuts that need to happen, and then it is ready for cutting. The setup is basically this: I cut a profile down to the depth of the first piece of wood around the border. In this case the the top piece of wood is 1/4". I then do a roughing pass with a single flute 3.175 mm end mill bit. I use that same bit to cut a roughing pass using a .02mm matching allowance.
Next I use a 2mm ball-end bit with 0.1mm or 5% step-over for the finishing pass. This combination consistently gives me very high quality results that require almost no post-finishing work on the carving.
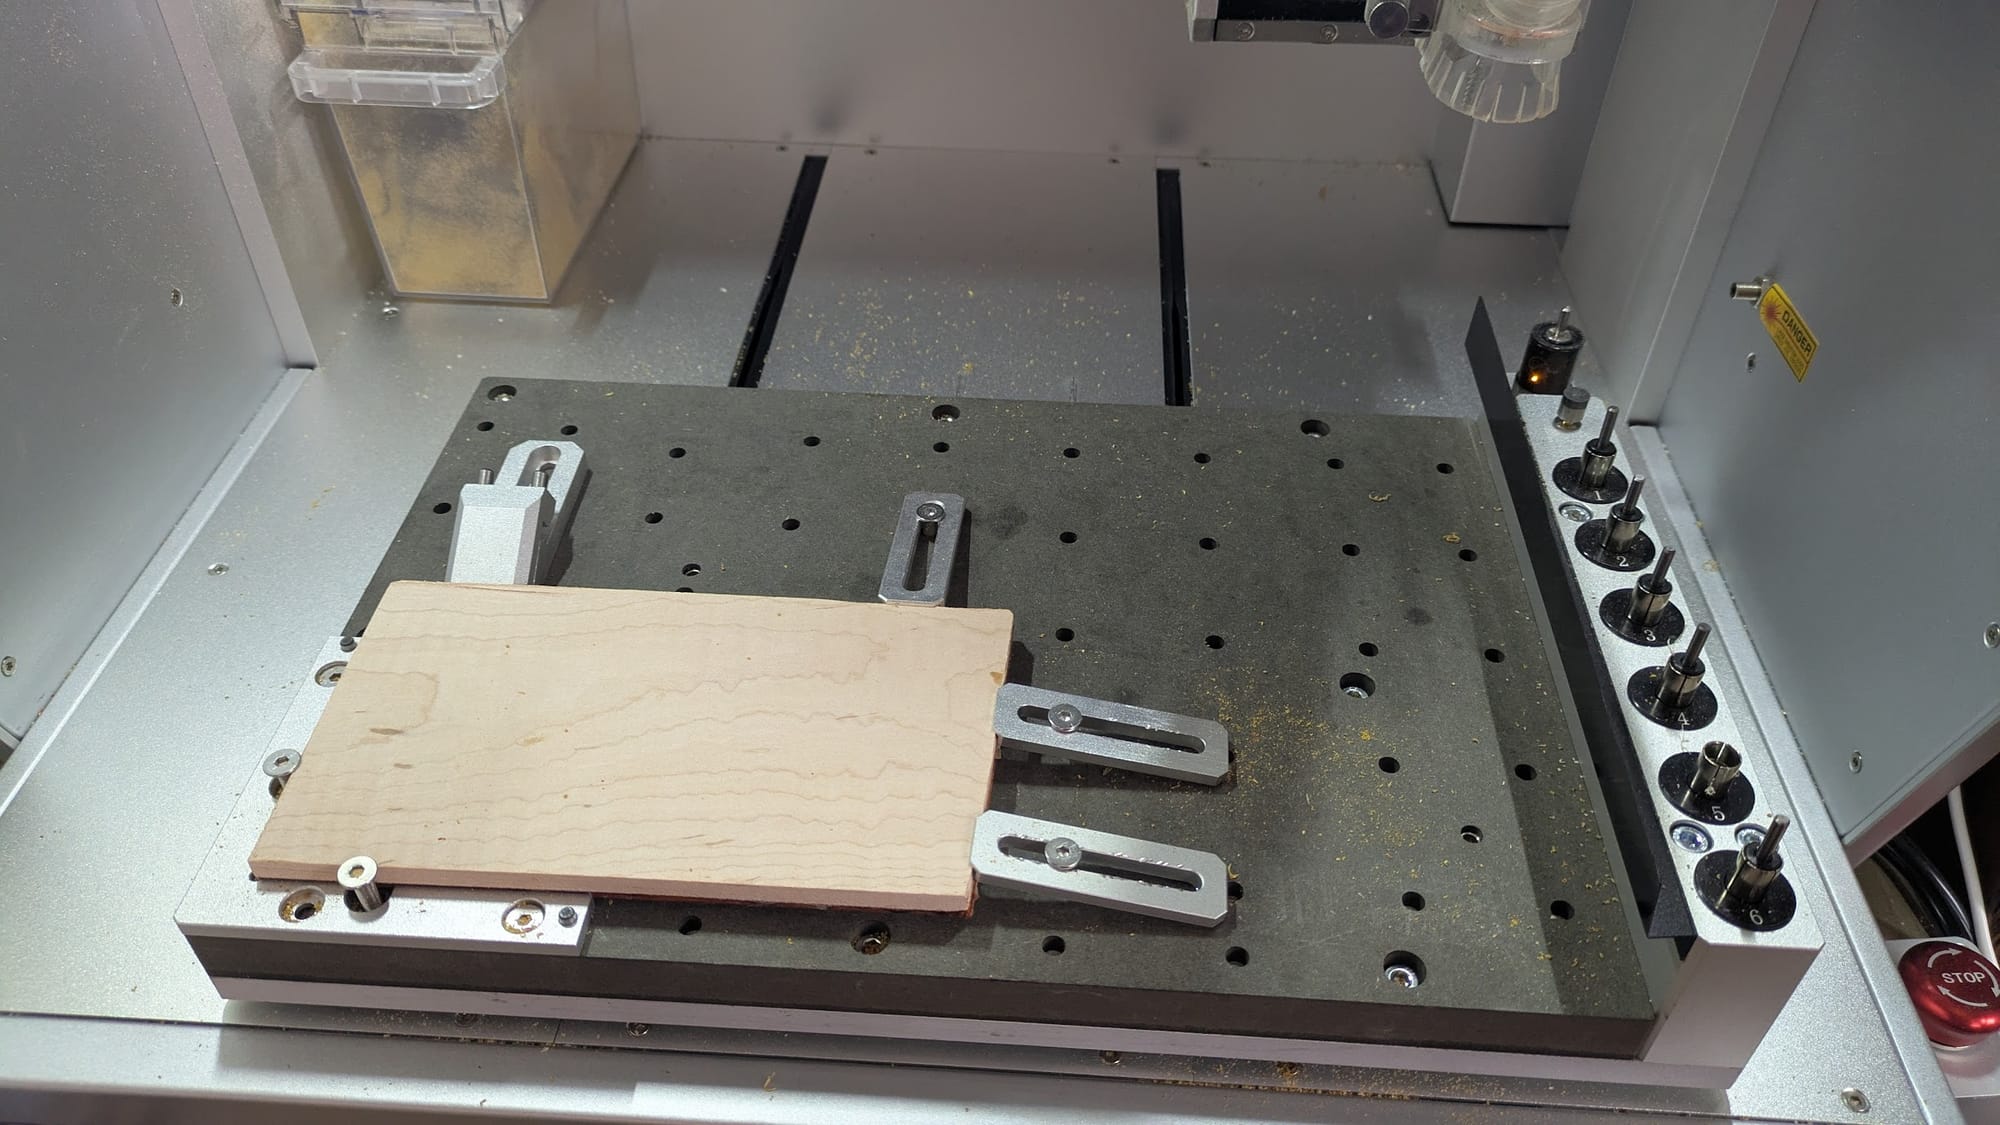
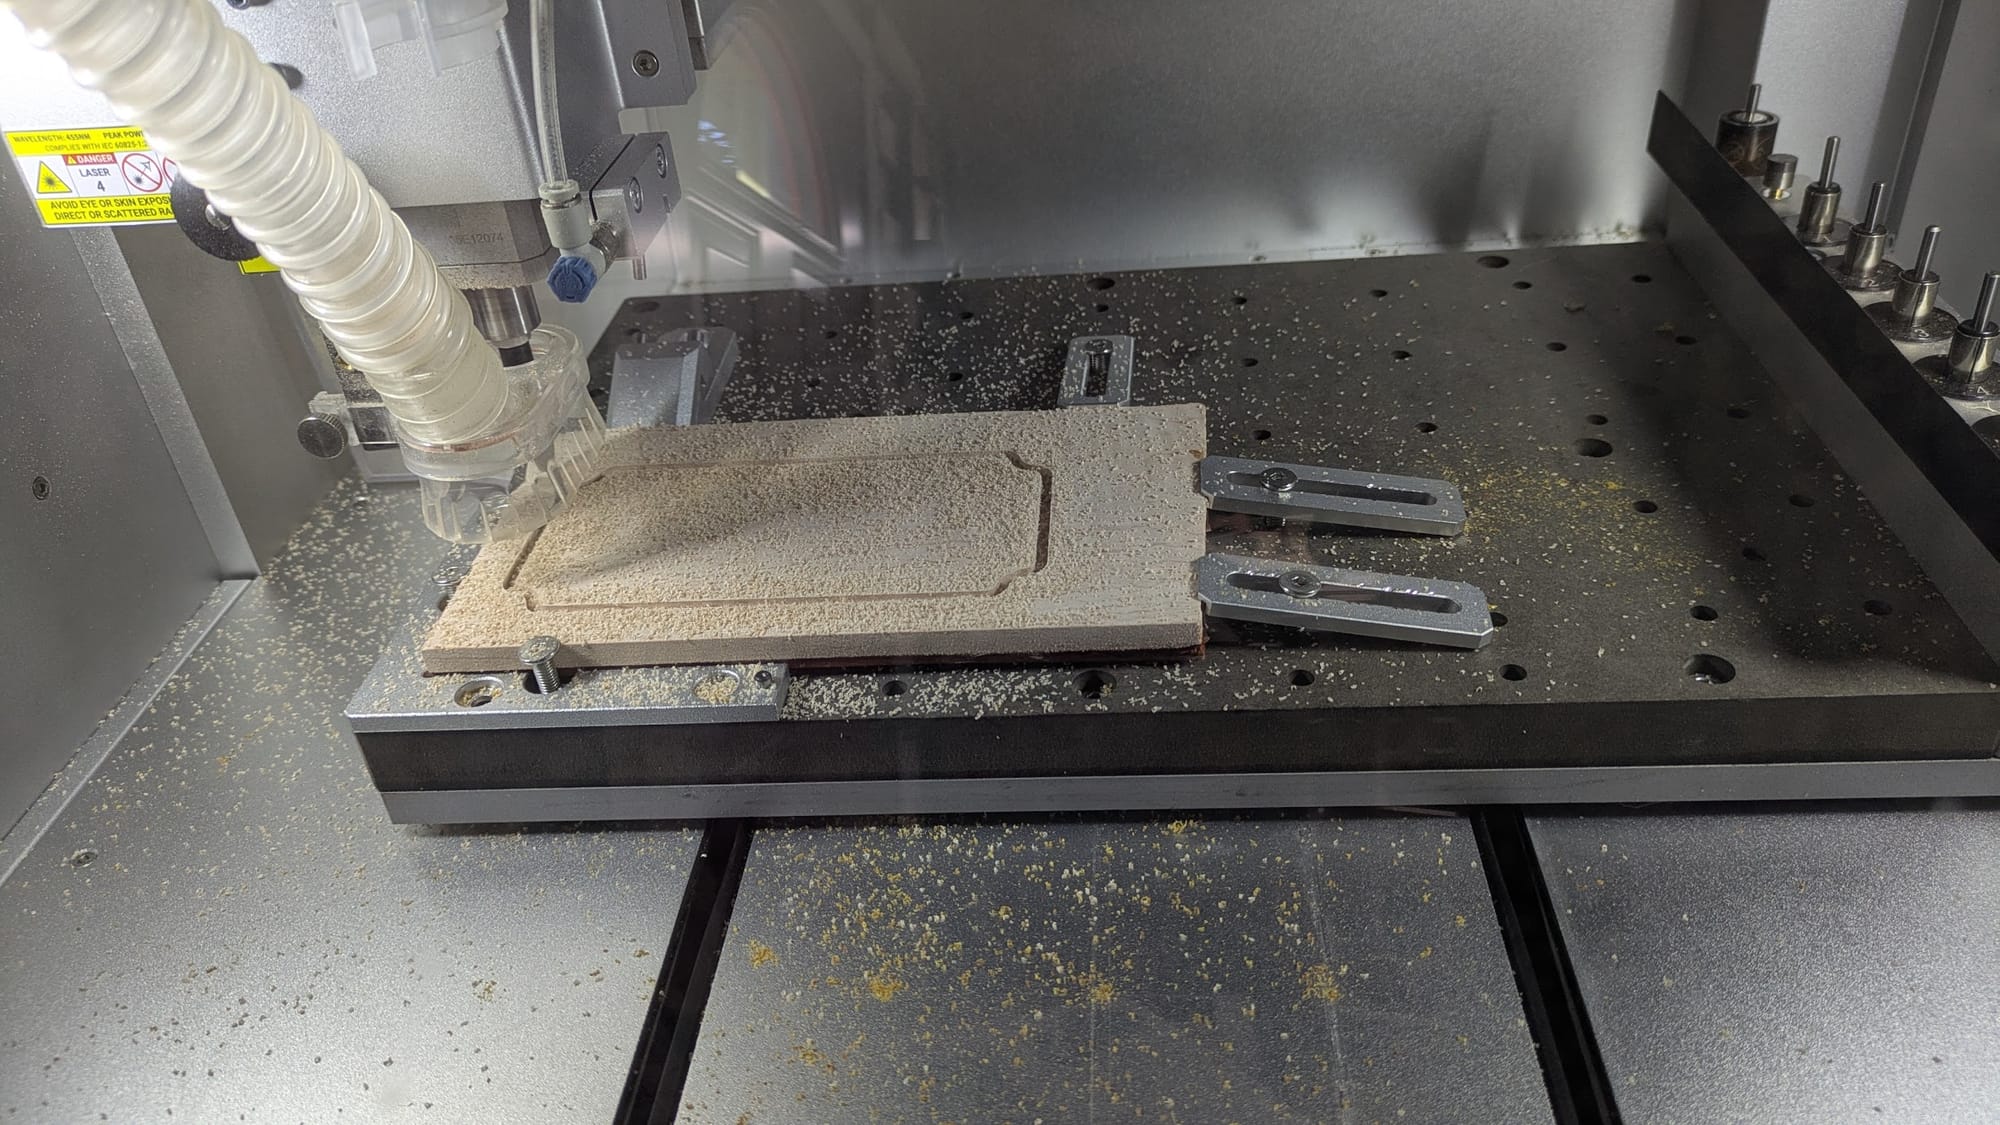
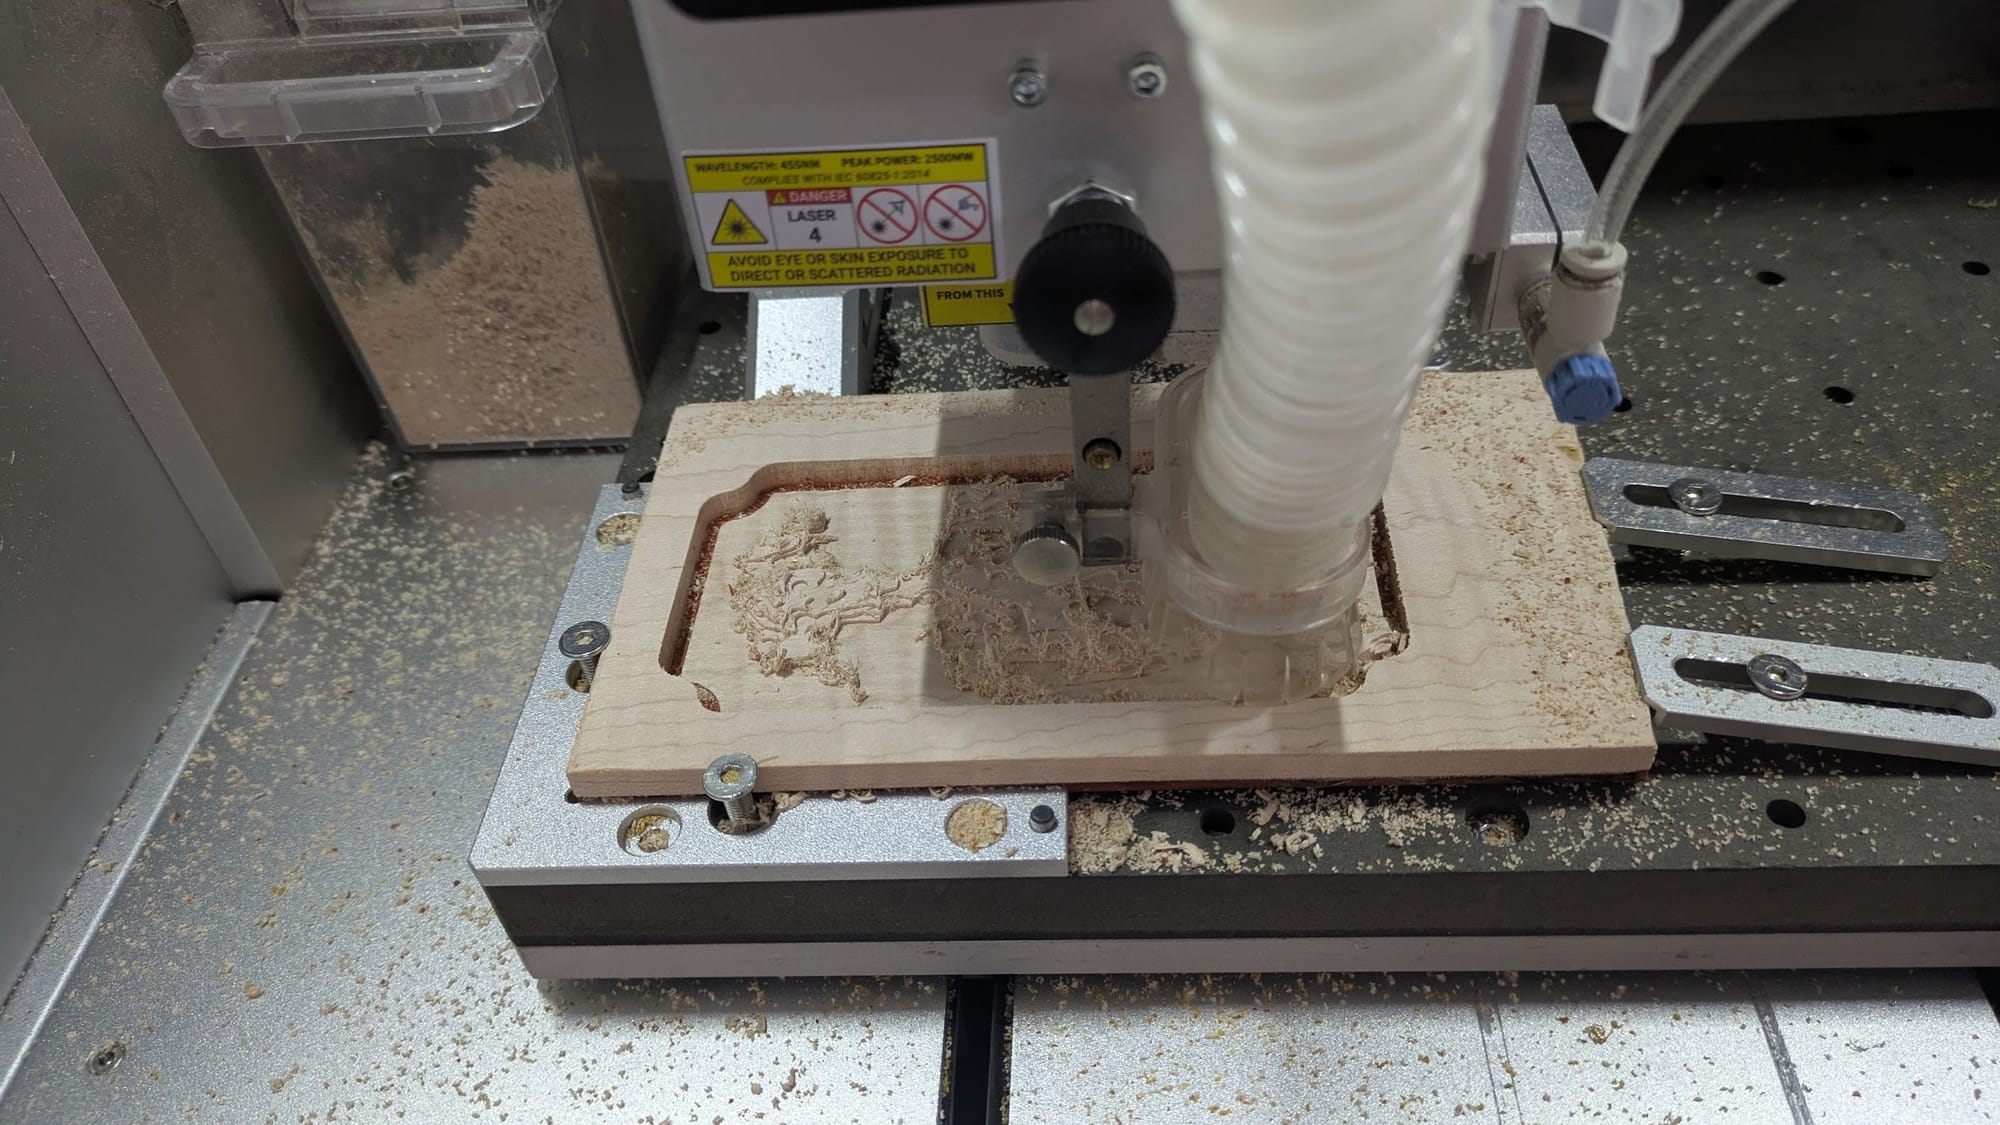
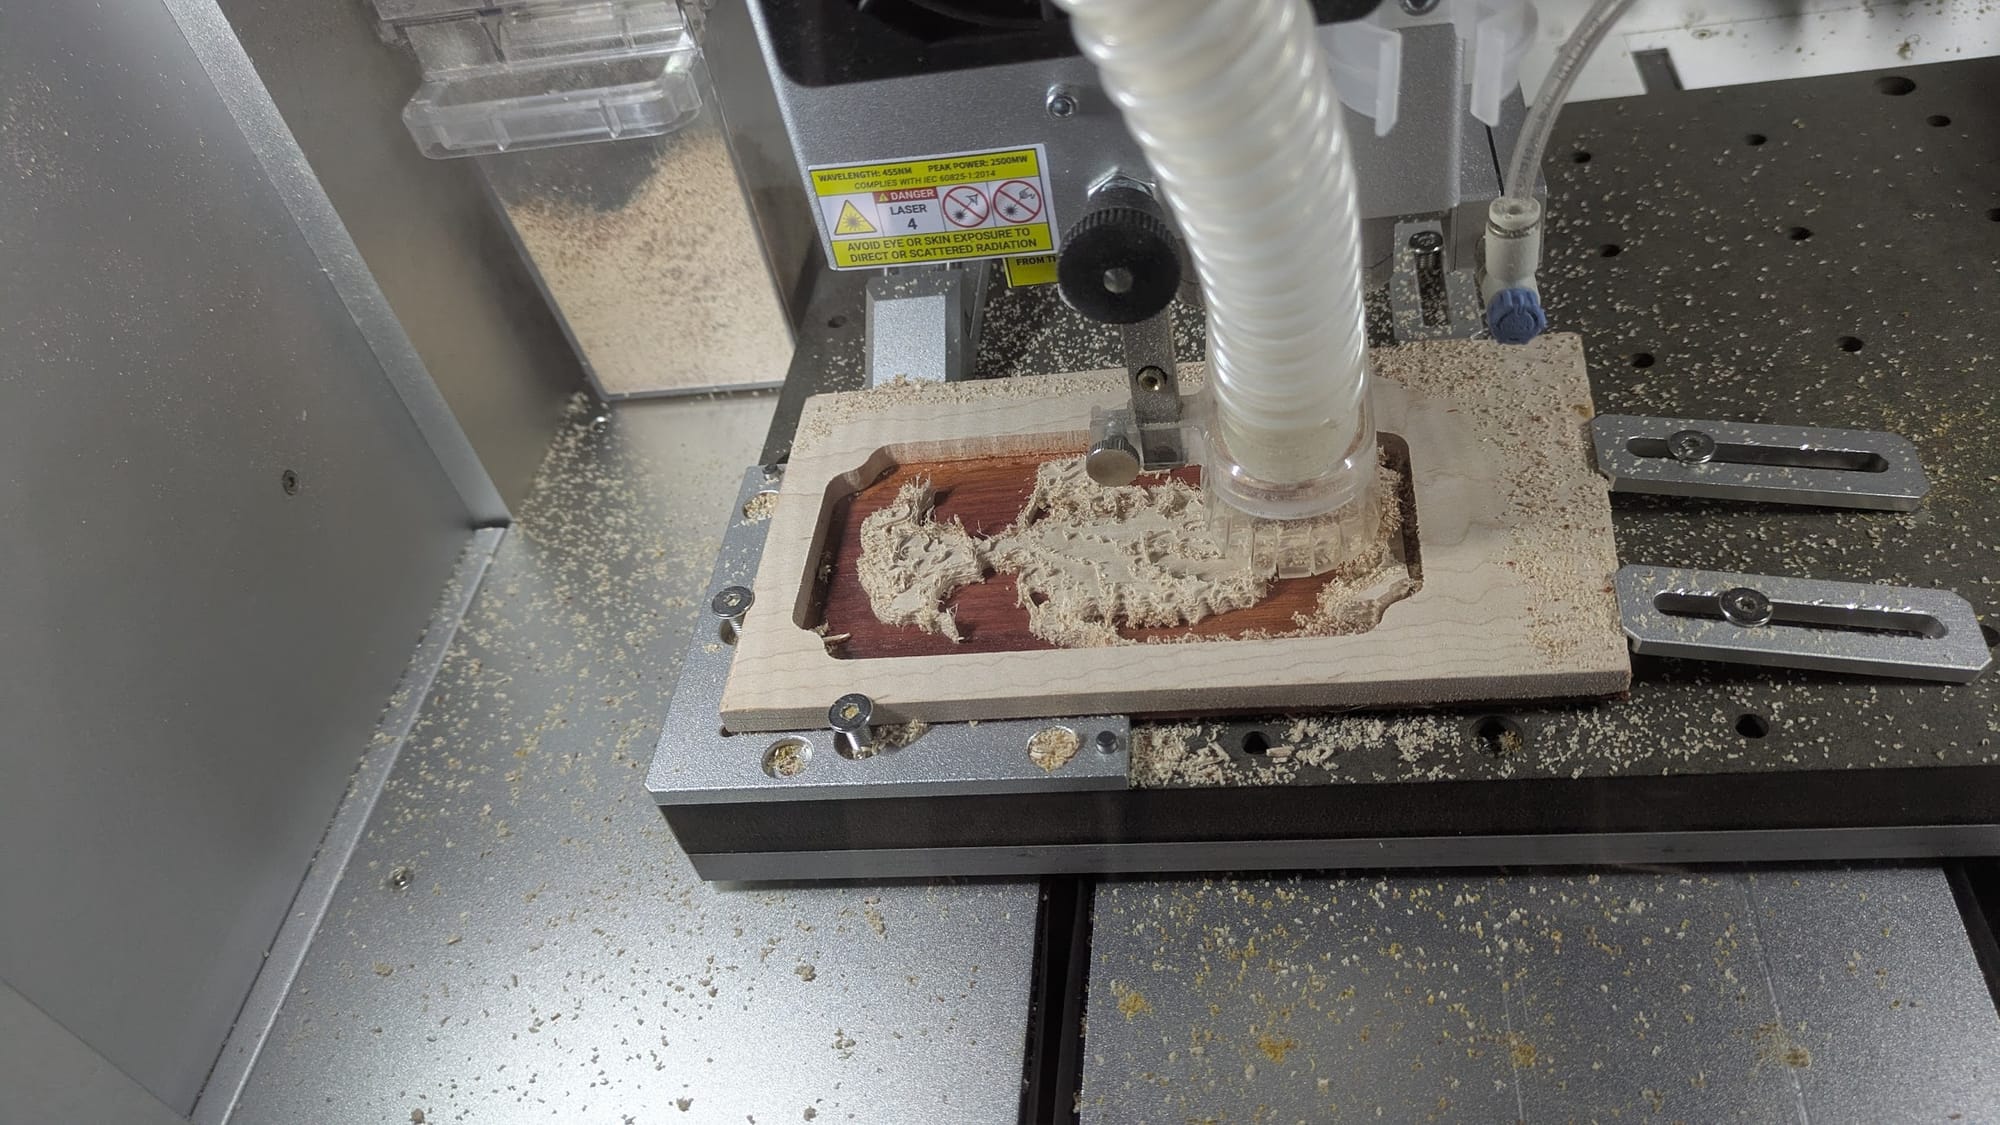
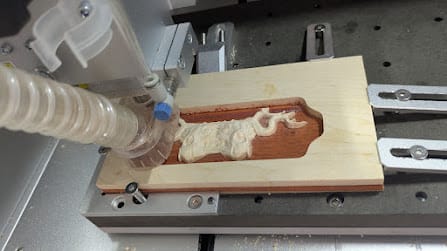

The Makera Carvera in action
Inlay
I typically design inlay starting with a rough sketch in photoshop. I then take the sketch and use that to draw vectors in Affinity Design and/or Illustrator. I typically don't need all the heavy weight features in illustrator so most of time I find myself working in Affinity Designer.
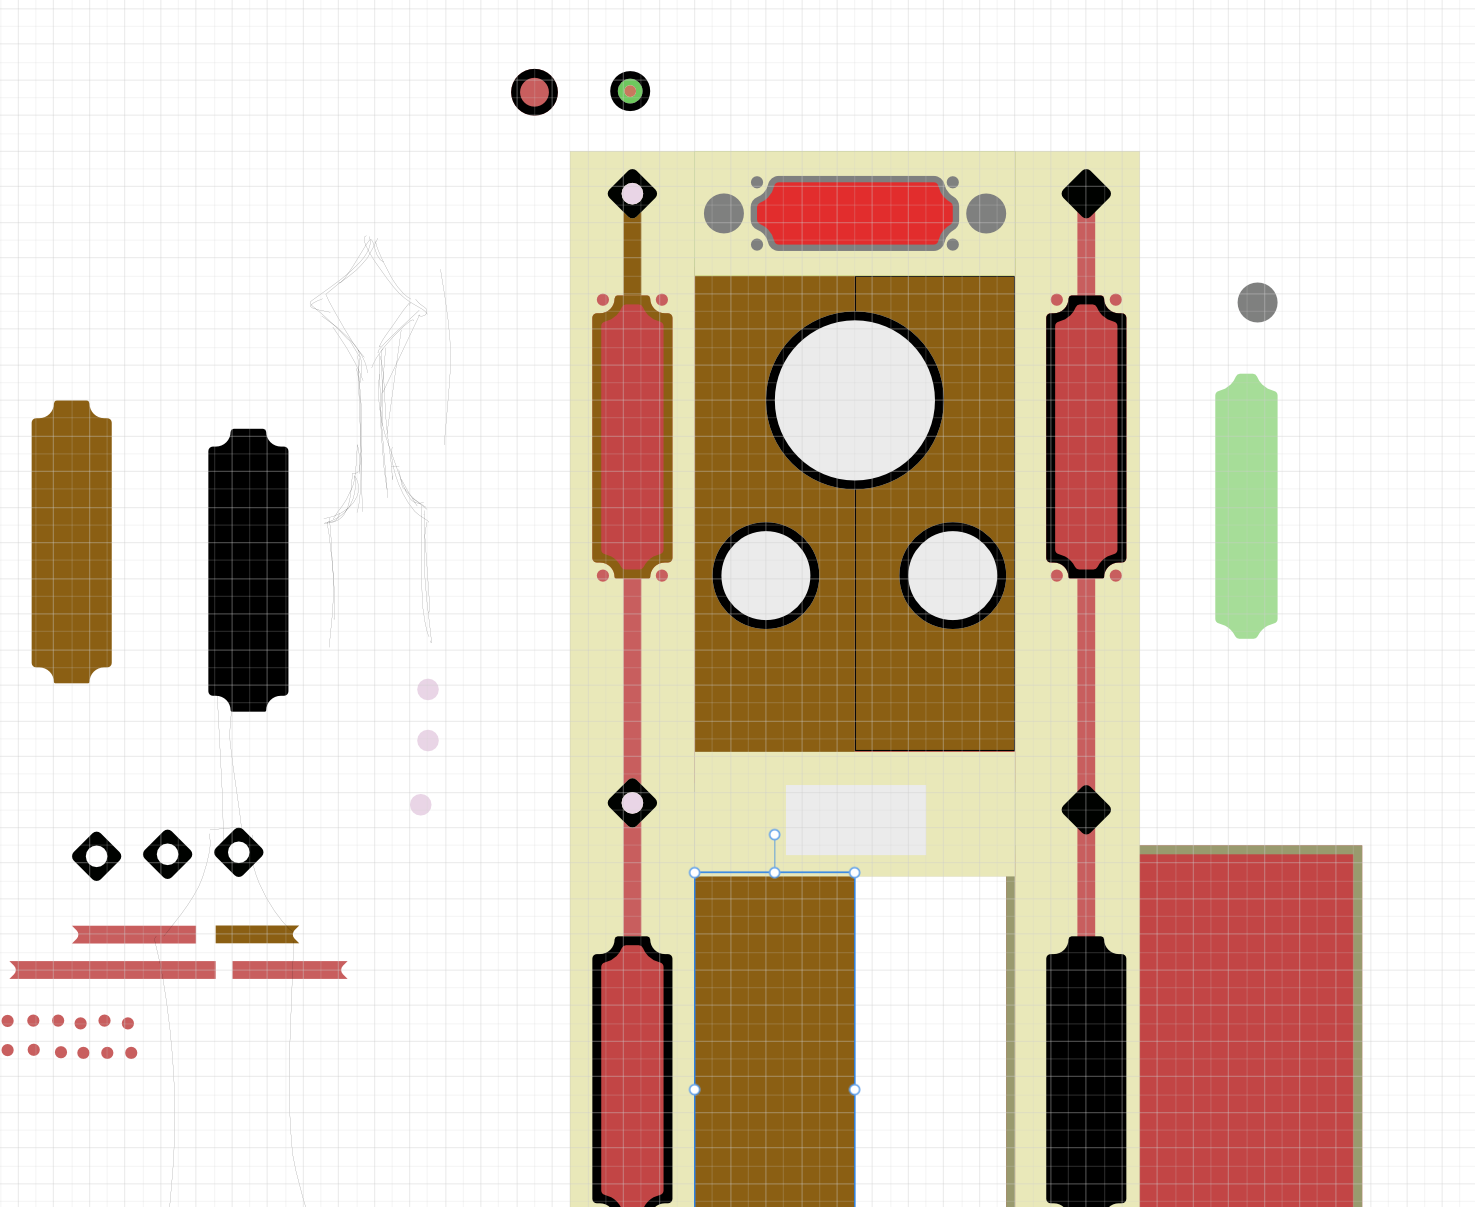
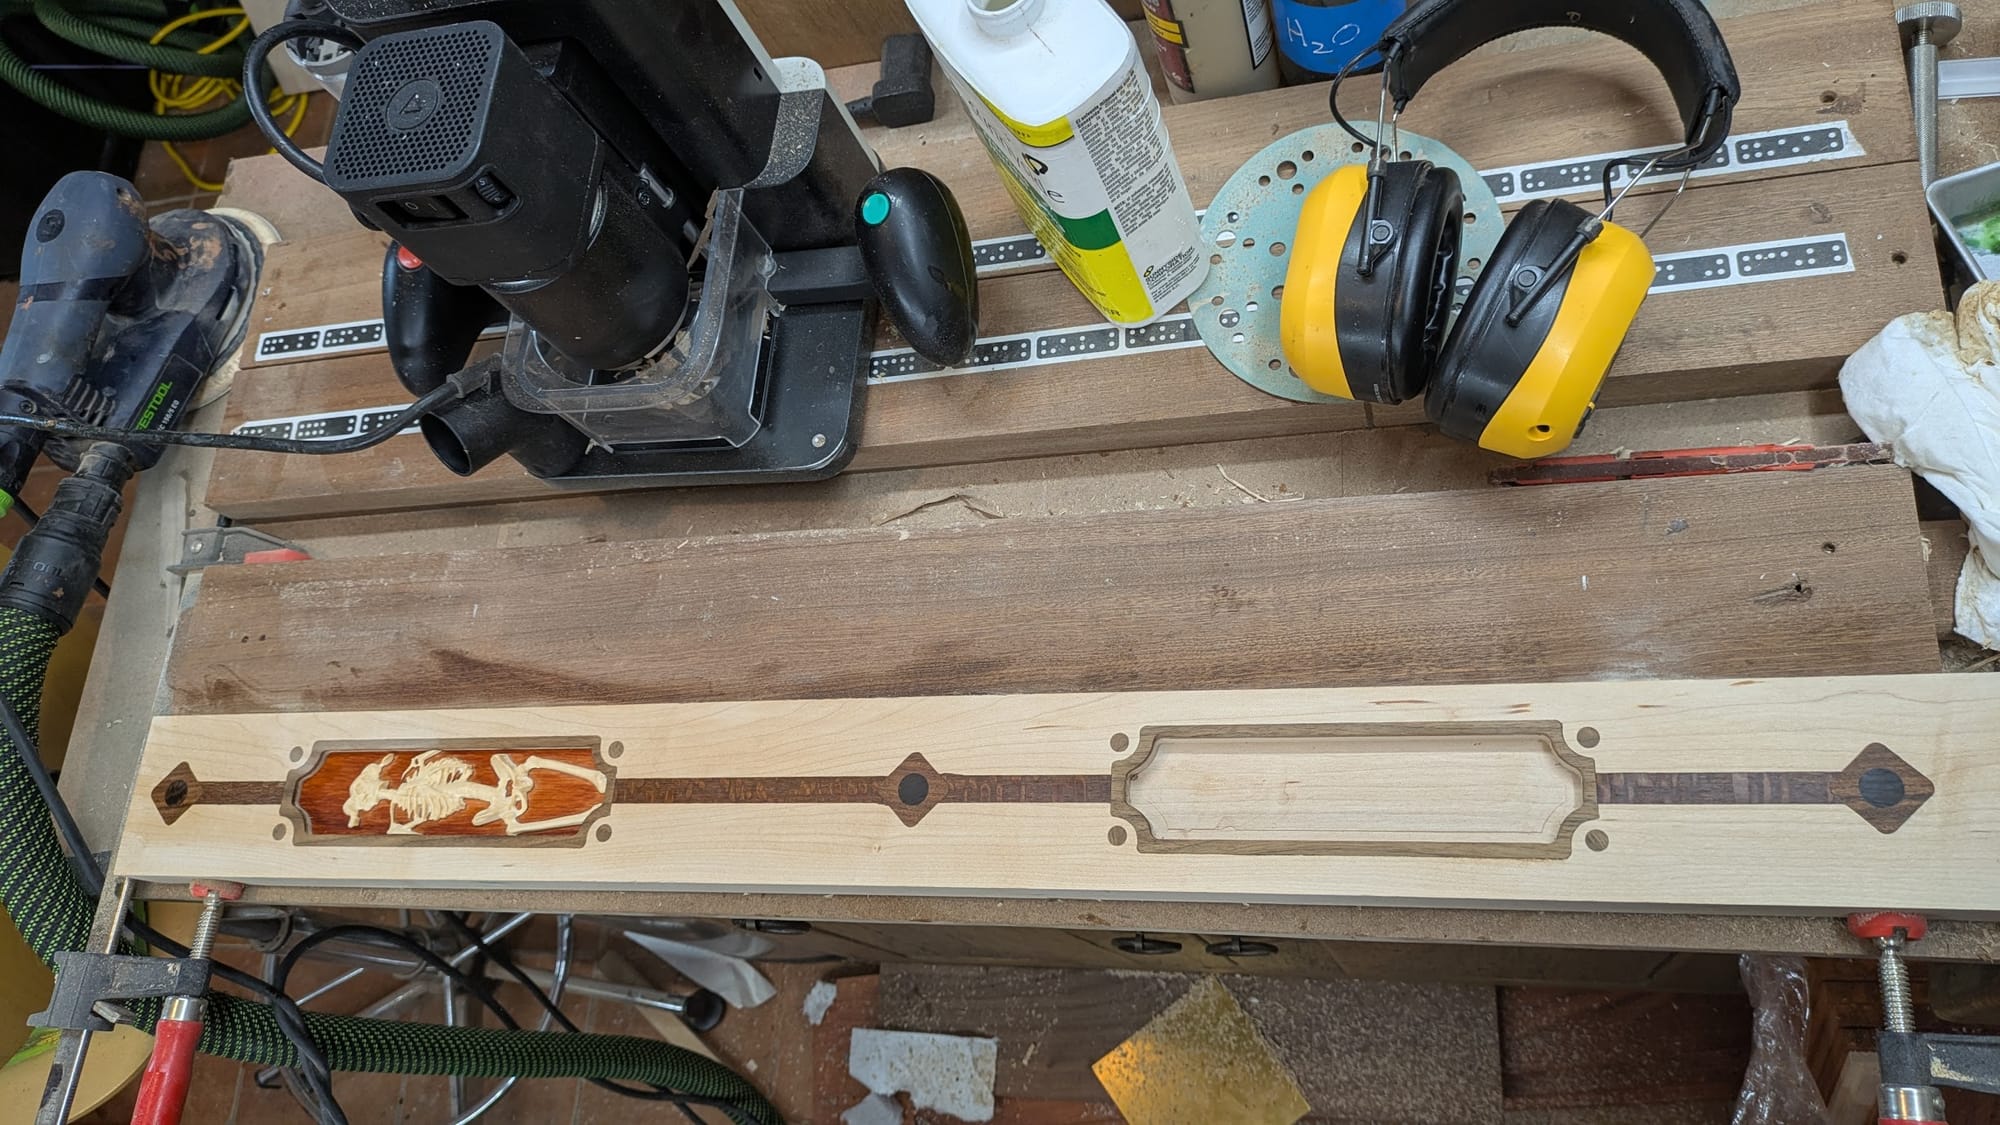
Once I have the basic design I can make cut patterns for each piece and send it to the Shaper Origin and cut all the pieces. I also use the Shaper to cut the pockets on this piece, because the boards are tool large to cut in the Carvera.
There are a lot of ways to do inlay, and you'll hear varying opinions, but after doing a lot of inlay, here is what works for me:
First, I use a 1mm straight bit to cut the inlay pieces in 1/8" stock. You can cut it with a larger bit, however, I found the 1mm bit to waste less wood, and just makes cleaner cuts than larger bits. It has the added benefit of having a very small radius which means you can get sharper corners on concave curves than larger bit. When I cut the pieces I always use a .002 inch negative offset, this (combined with the pocket offset, which I will get to), gives enough room for glue, but also gives it a nice snug fit, which is what you want. Some people use angled bits so there is a taper to pieces that register with the opposite taper in the pocket. I have never found that to be needed with the right offsets, and this has been true for me for large inlays as well as super tiny ones. And it's easier to calculate the curves without considering the tapered cut.
I always cut the inlay first, and the pockets second. This allows me to dry fit the pieces in the pocket before gluing, and also gives me a chance to adjust the offset on the pocket if the pieces aren't fitting.
Which brings me to the last part - if I'm doing a particular inlay for the first time, I always cut the pocket with 0 off-set. I then test fit the pieces. This is almost always too tight, but you want to "sneak-up" on the right offset to get it perfect. So if it is too tight, I then try an offset of -0.001 inches. Test again, if it is too tight move to -0.002 inches. This is almost always the sweet spot. The inlay should just need a little tapping with a rubber mallet to fit into place.
Here is a short video of parts of this process
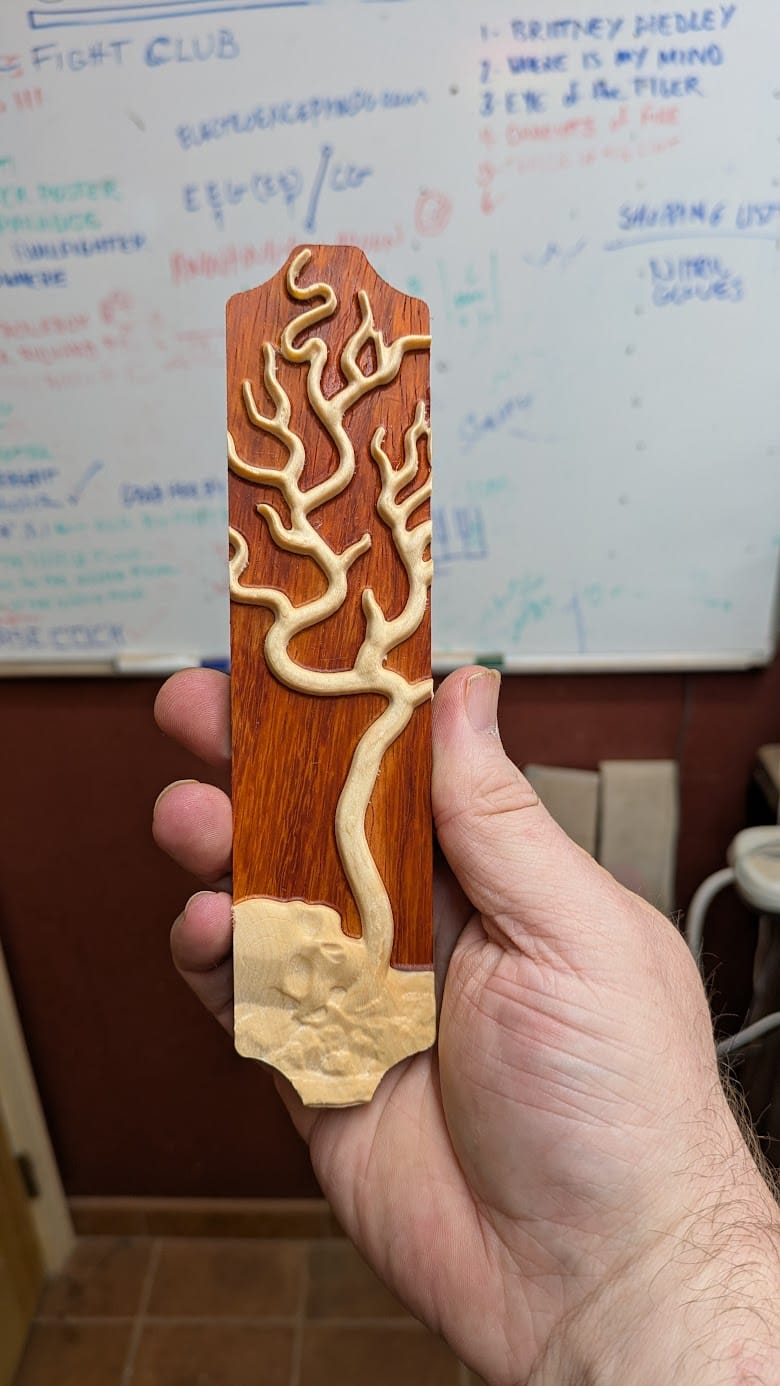
Putting it all together
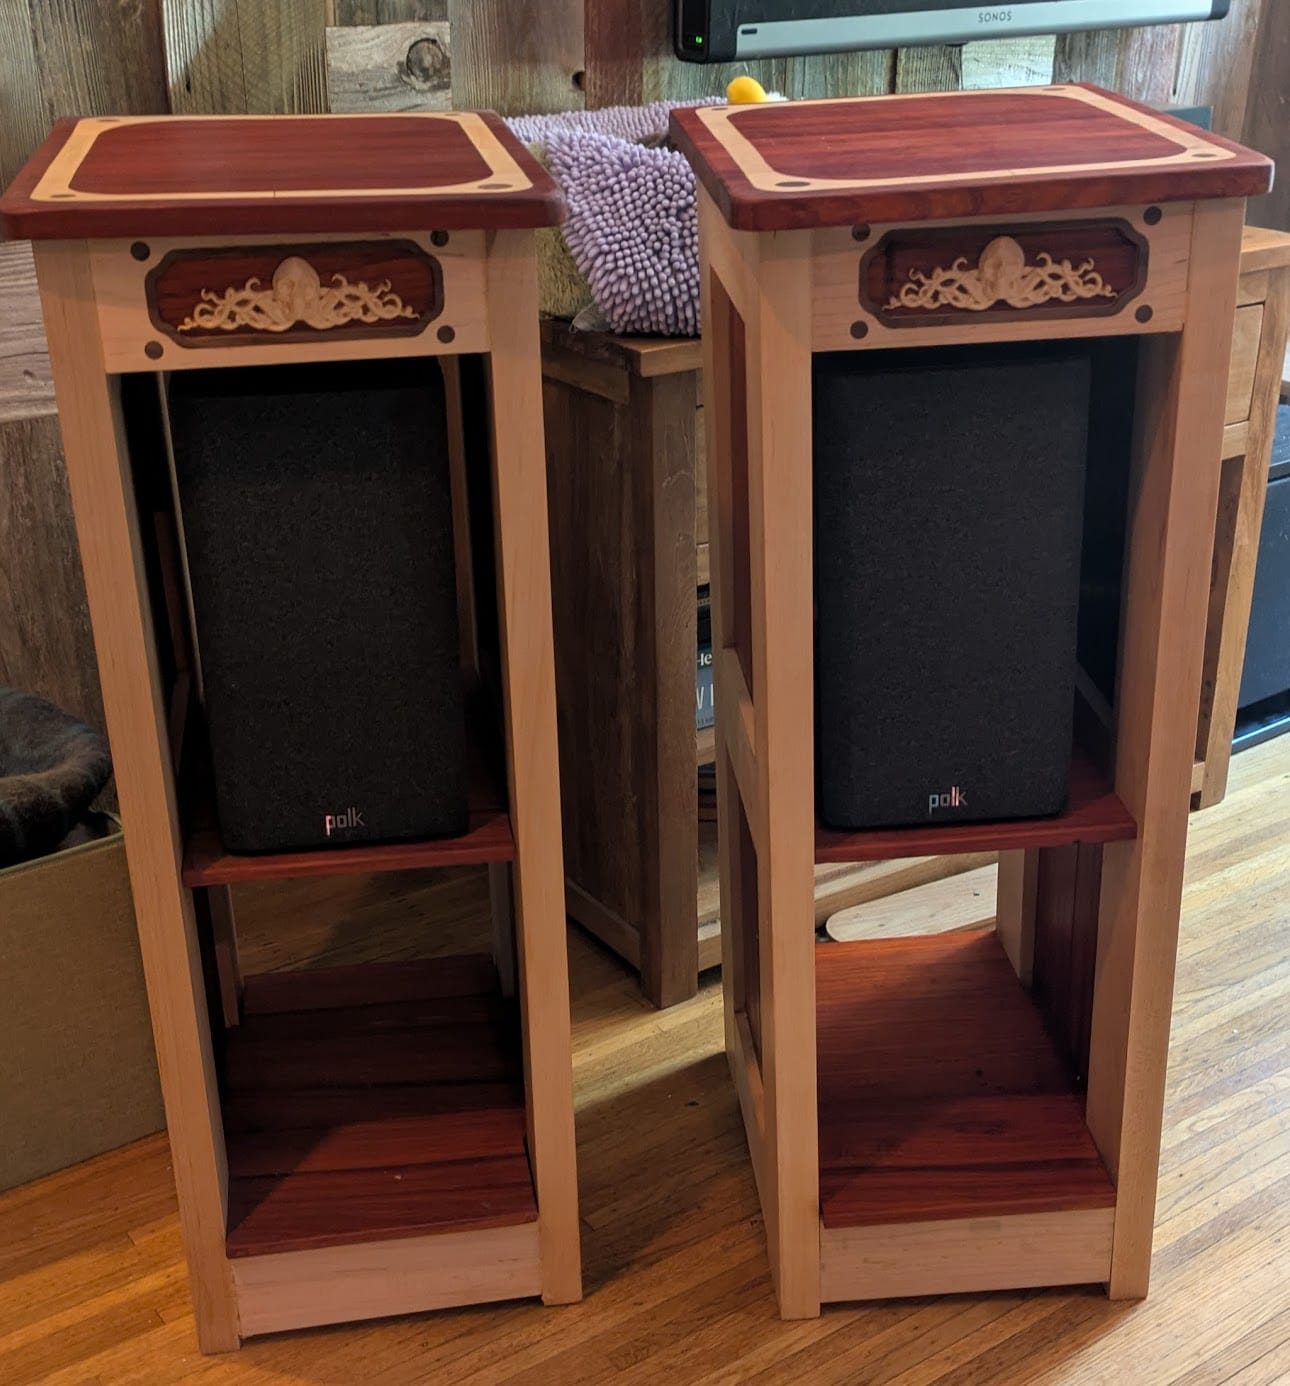
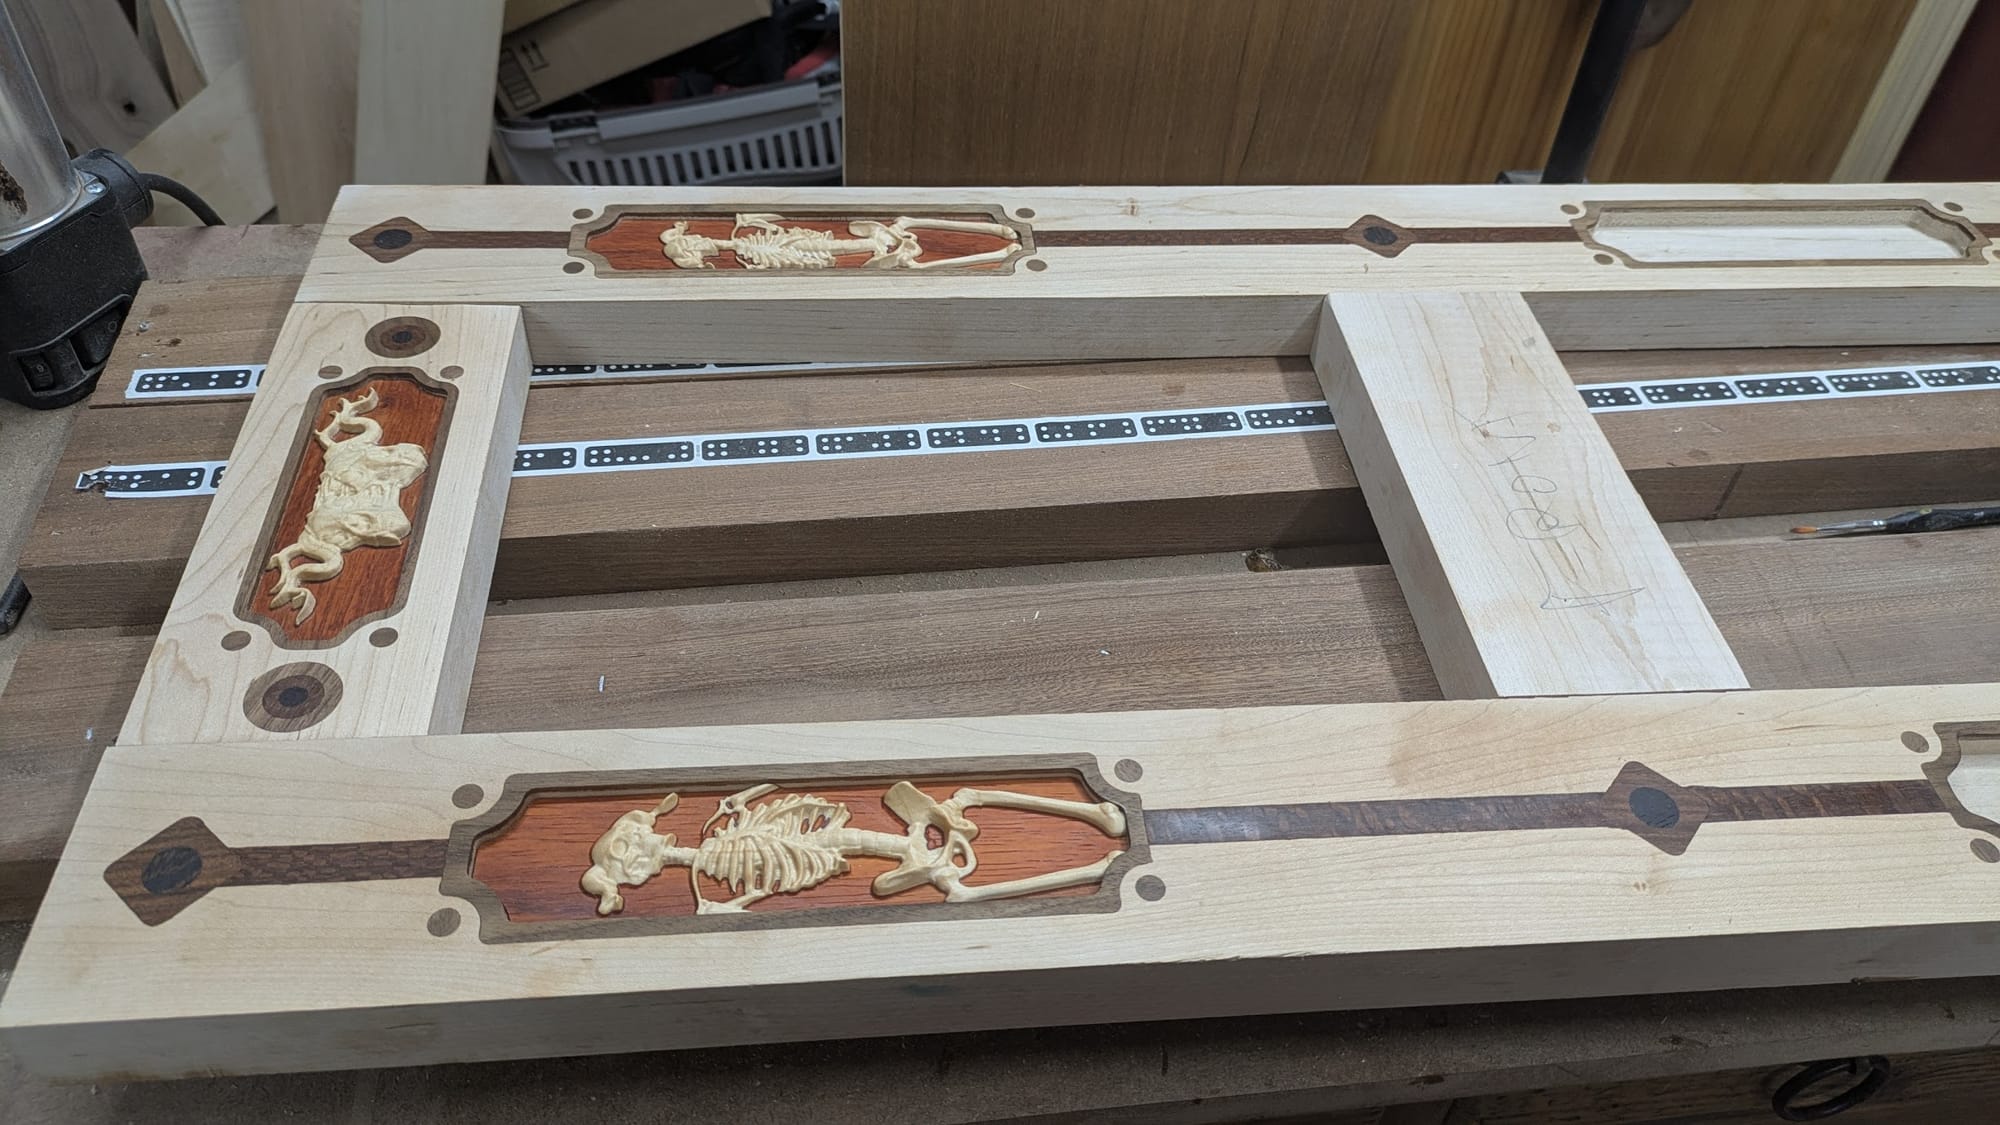
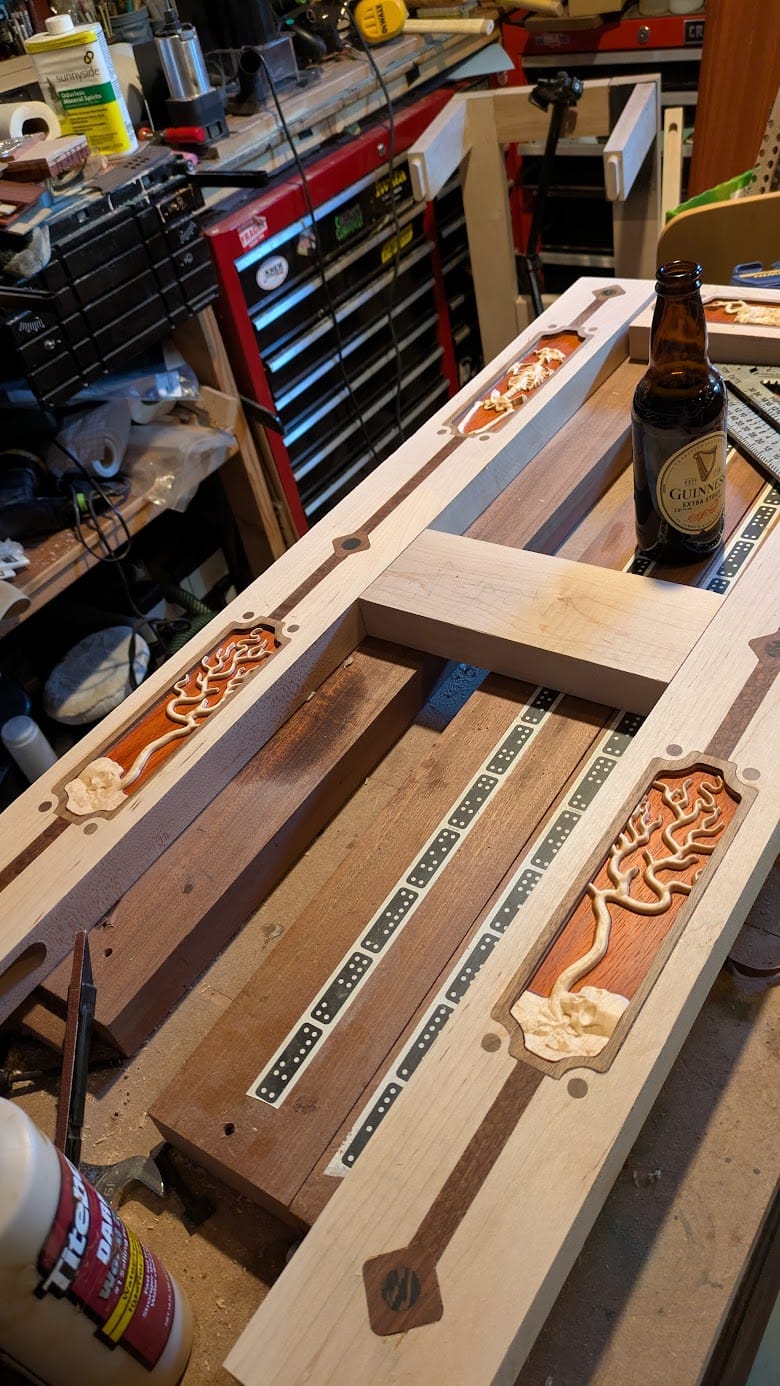
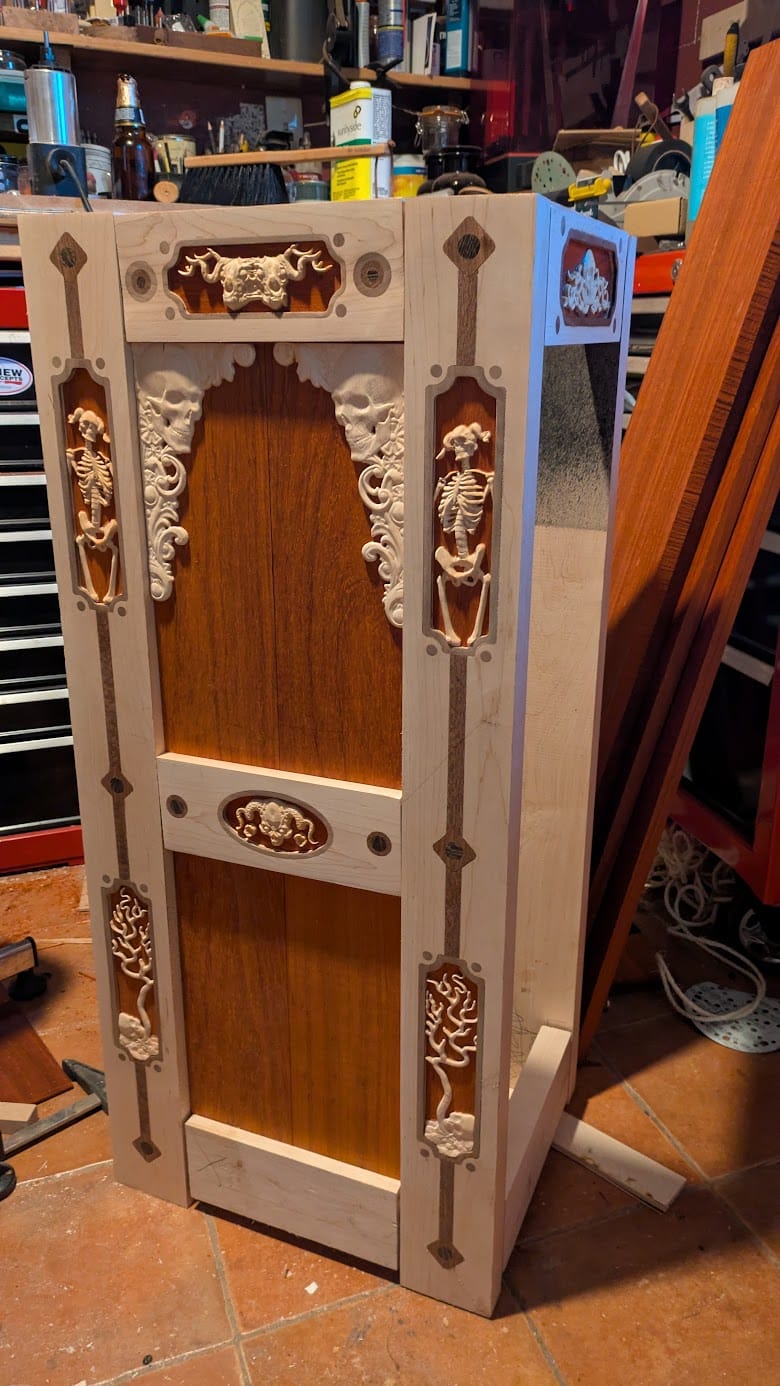
The rest is pretty straight forward, just setting the carvings into the inlay. and gluing up all the pieces
Finishing steps

